
While digging the far center post, I hit a big rock about a foot down. Couldn't break it, and digging around it shifted the hole off the line required to support the beam -- so I just closed this hole up and skipped it.
| I started with a set of deck drawings, including this overhead view. After tweaking things around a bit, this was the final plan that was certified by the town building permit inspectors. The dotted lines are the extent of existing partially-demolished concrete stairs (see below, from the old kitchen door) and the concrete walkway to the garage door. Required footing depth is 3 feet according to local code. |
|
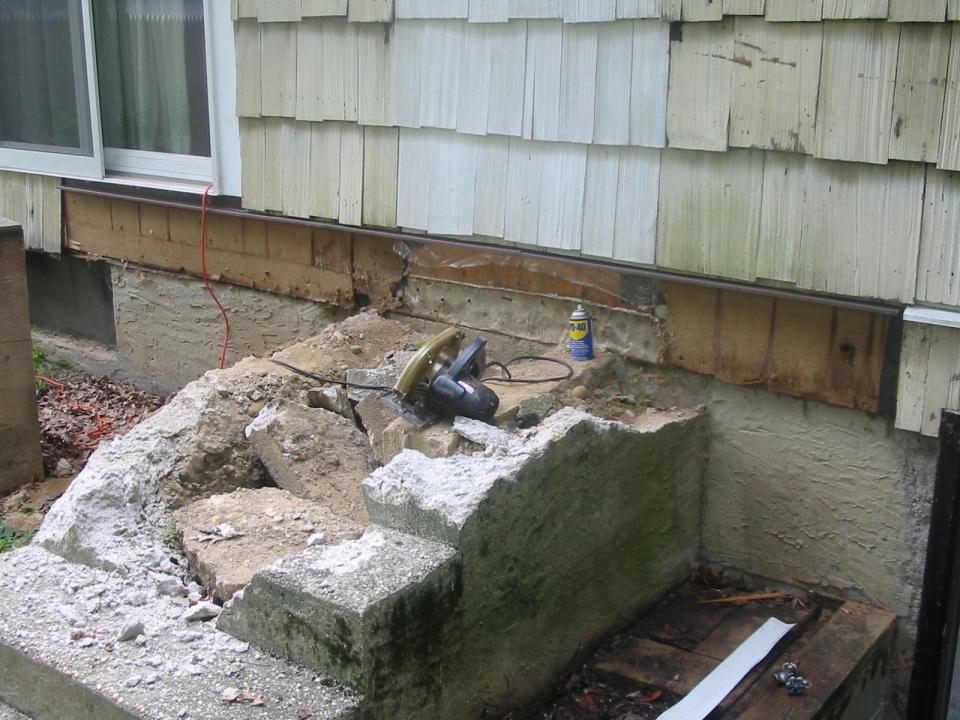
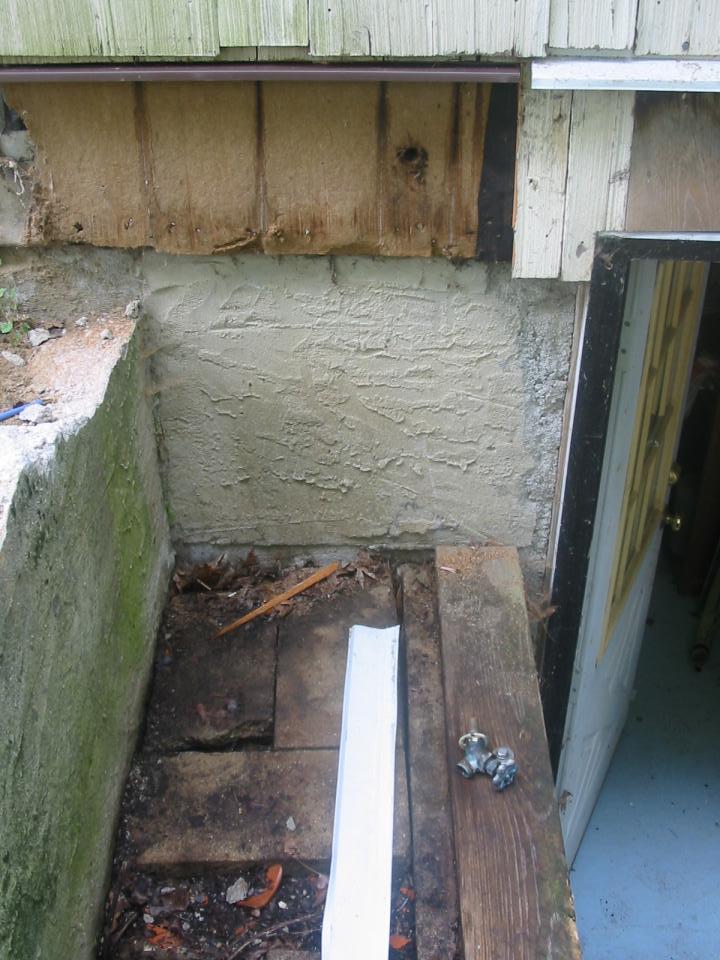
| Trimmed siding and z-flashing installed for the ledger board installation against the side of the house. WD-40 really helps the flashing slide beneath siding! The second shot shows the location of the old outside water spigot -- not only didn't it work, but the interior cutoff valve was was leaky as well. Rather than try to cut the ledger around the spigot, we cut it out and capped the line. No leaks! |
|
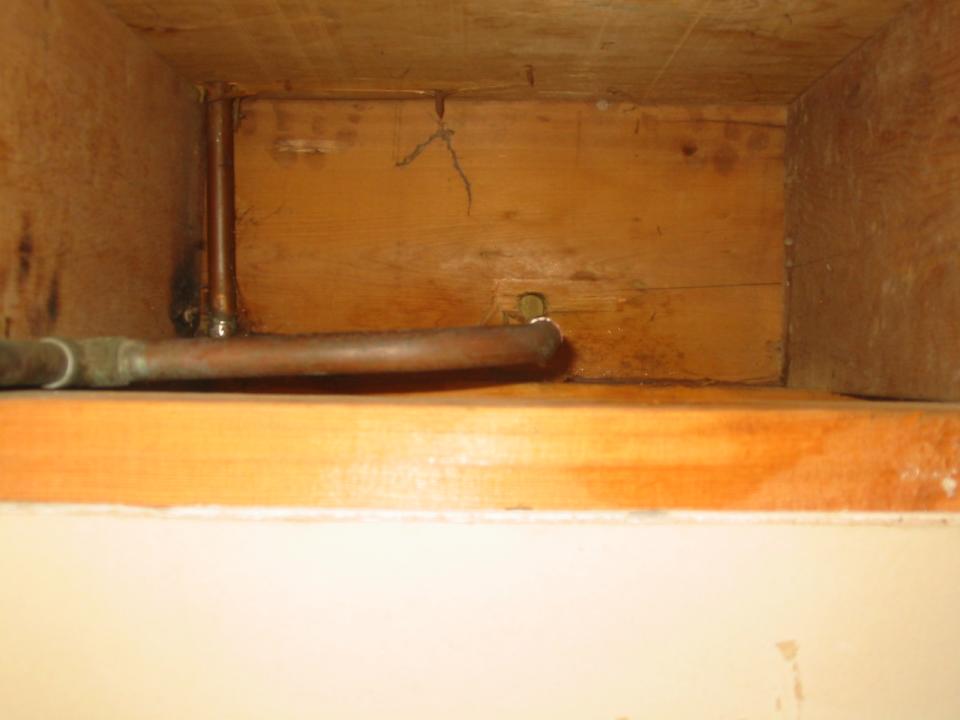
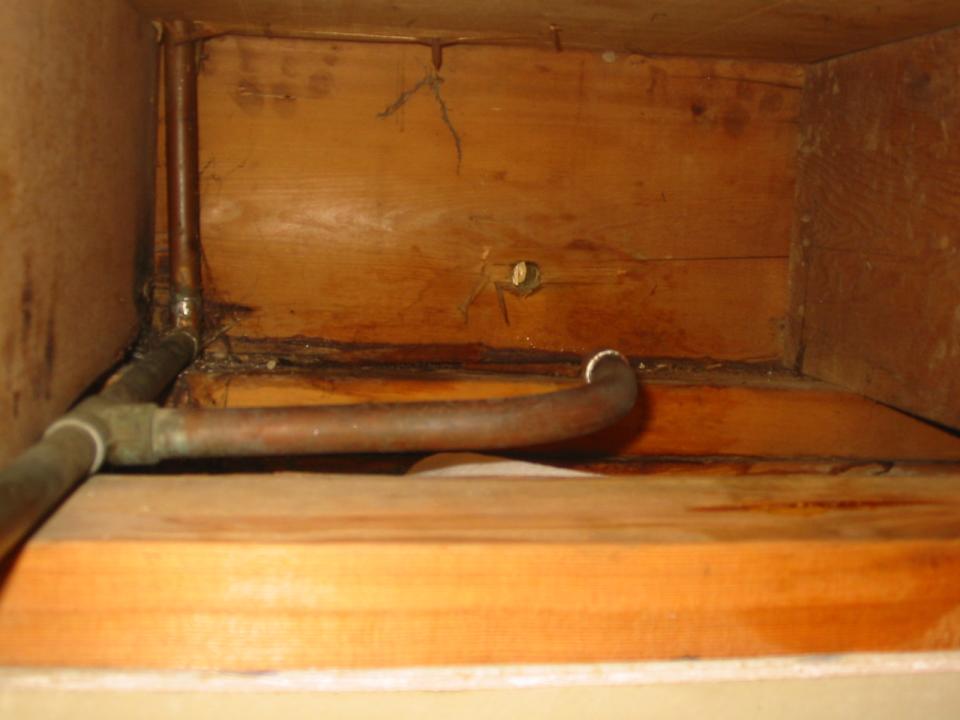
| Two views of the tight the space for the cutoff valve and (former) exterior water line. The vertical space is about six inches, and this area is about a foot deep beyond the finished walls of the basement. It was hard enough to solder on a cap; soldering in a replacement valve for exterior cutoff here would have been really tough! |
|
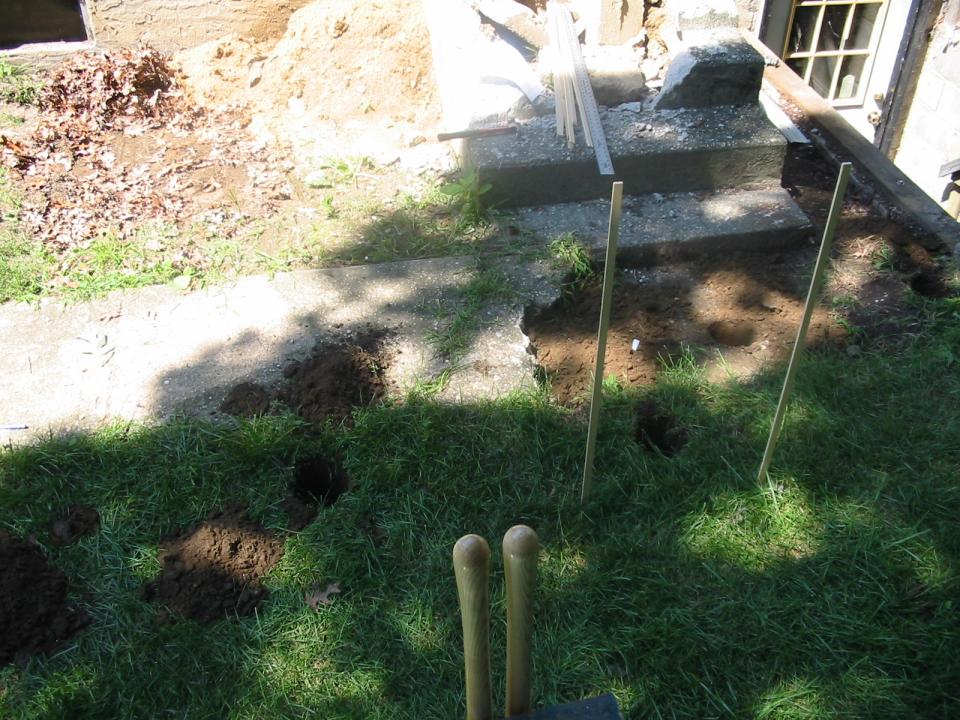
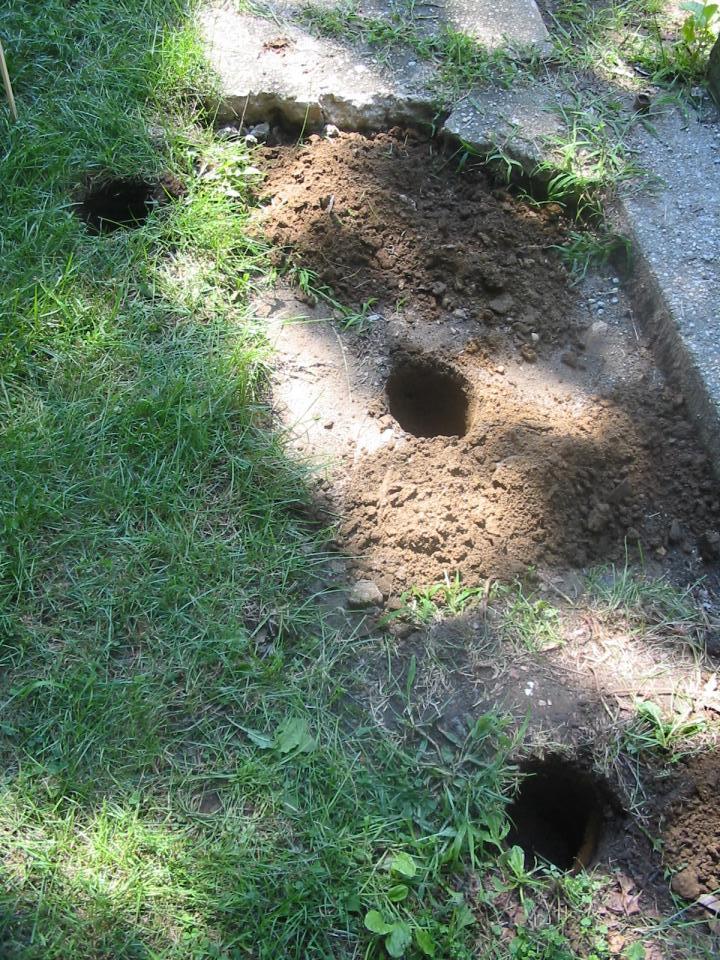
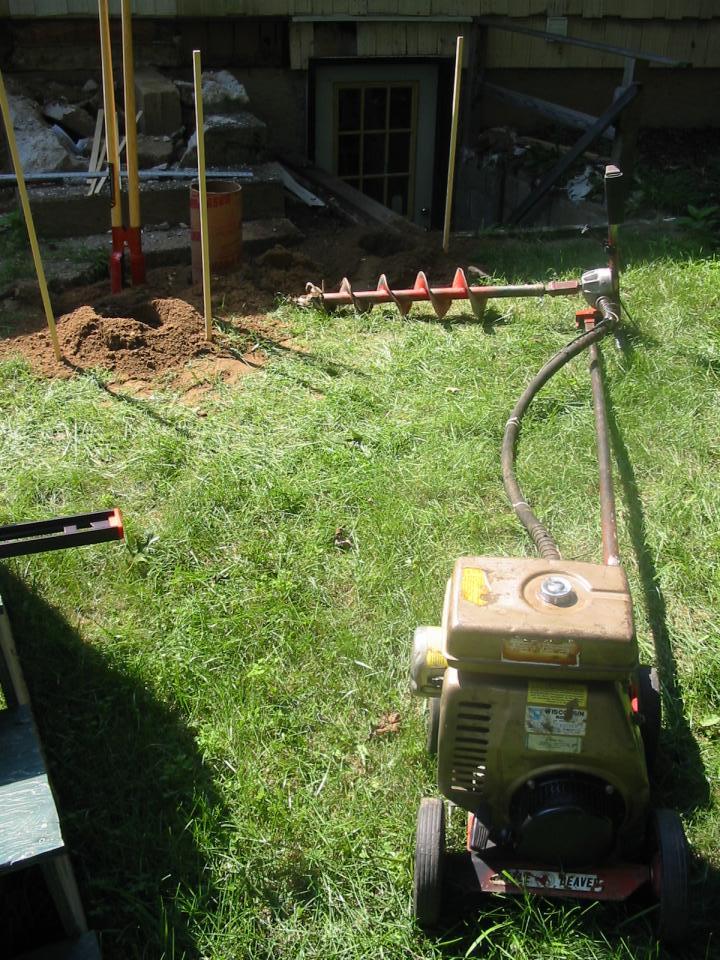
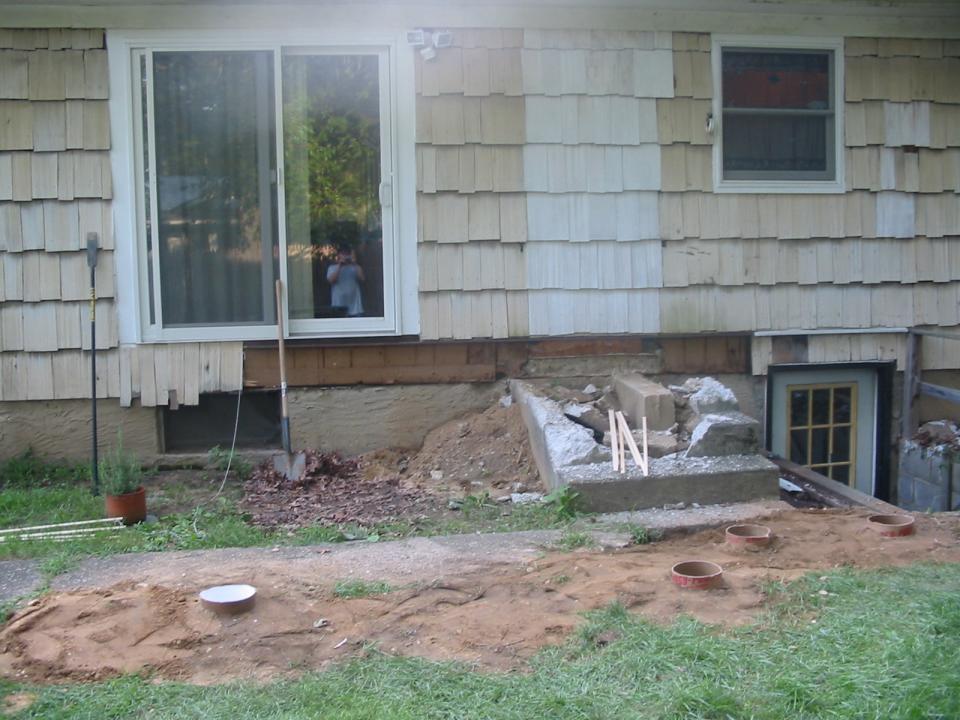
| Oh no, we have gophers! To prep for the post-hole digger rental in the afternoon, I dug 1-foot deep holes in the correct places with a manual digger. Both pictures also show that I had to pull up a bunch of the old concrete sidewalk to make room for post holes. Oof. |
|
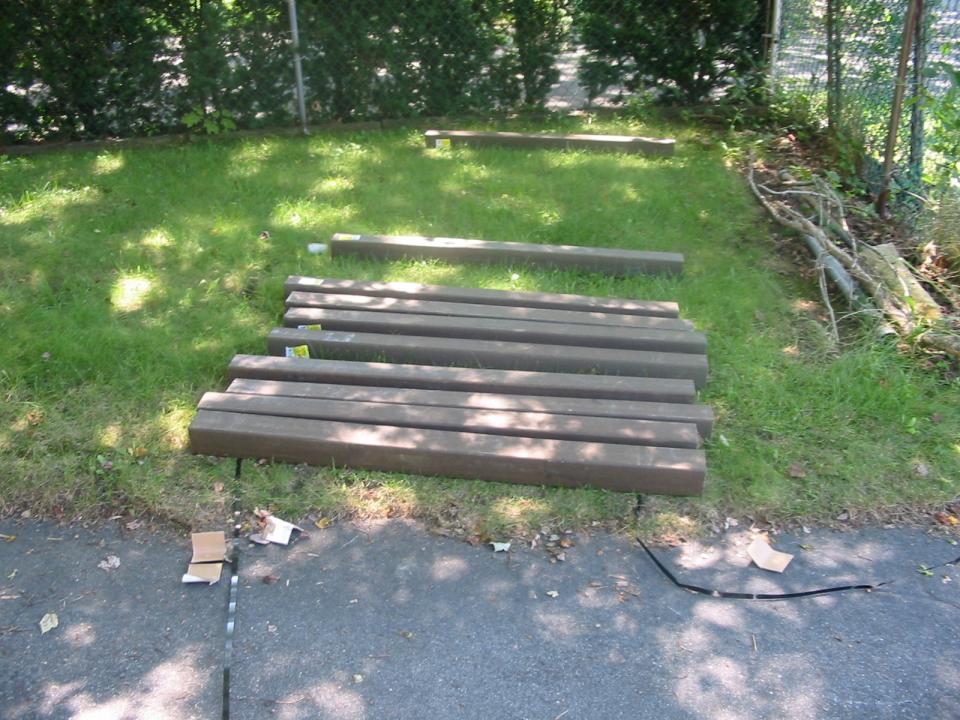
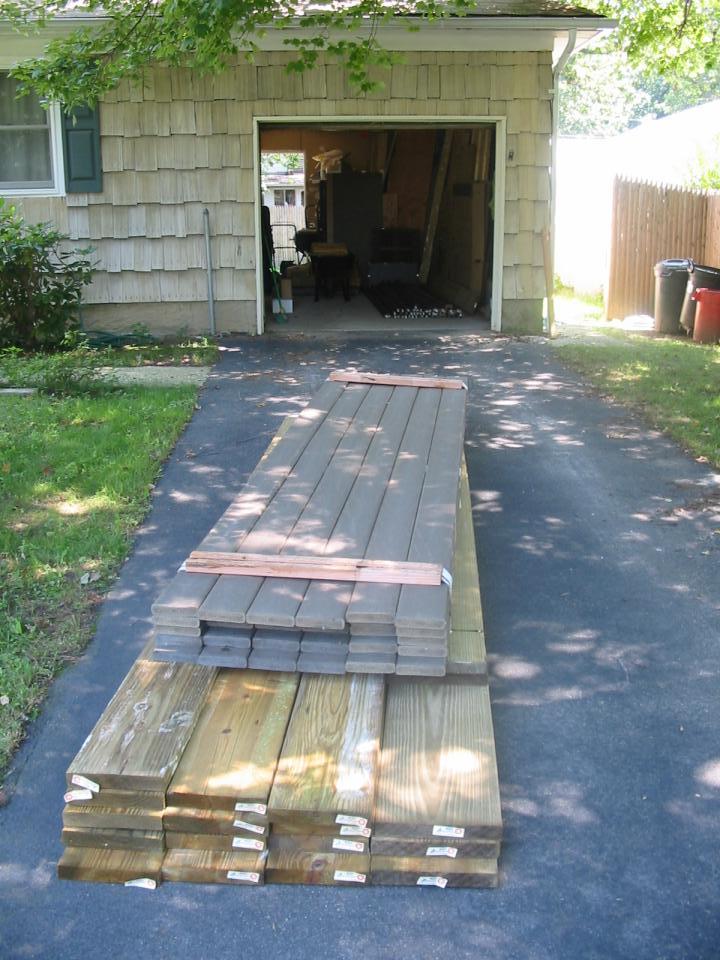
| At noon the decking delivery arrived -- in the garage, in the driveway, in the yard... The decking, railings, posts, and stairs are all Winchester Grey Trex; the framing and joists are standard CCA lumber. |
|
|
The rental post-hole digger only required one operator. Digging holes
only took a few hours. Manually digging out edges to the 8" diameter
required for the footing forms and cleaning up the bottoms took another
hour or so. While digging the far center post, I hit a big rock about a foot down. Couldn't break it, and digging around it shifted the hole off the line required to support the beam -- so I just closed this hole up and skipped it. |
|
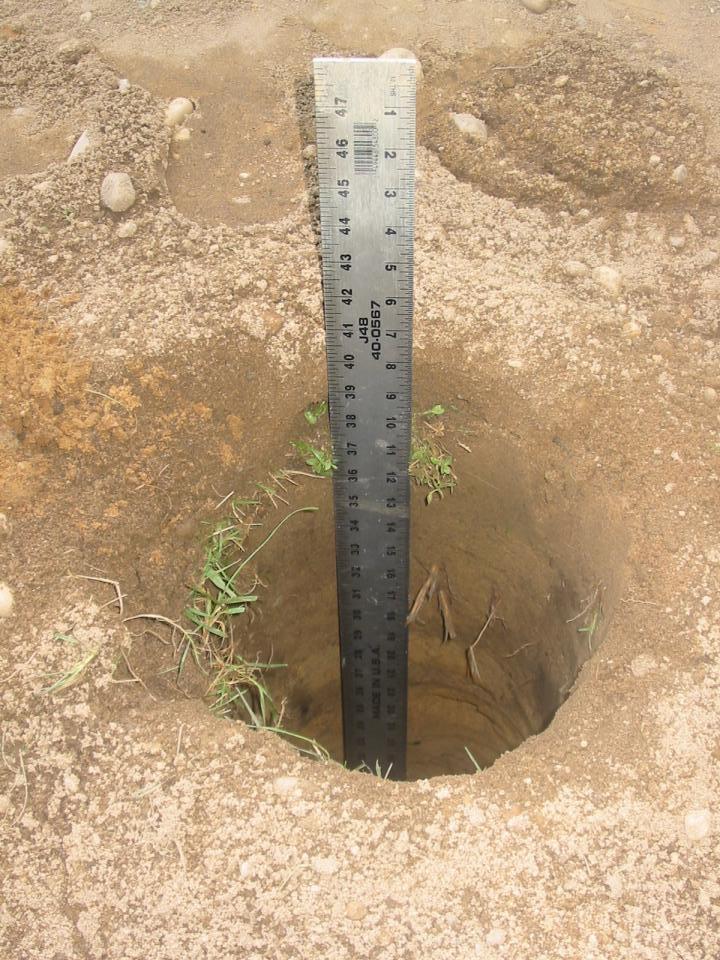
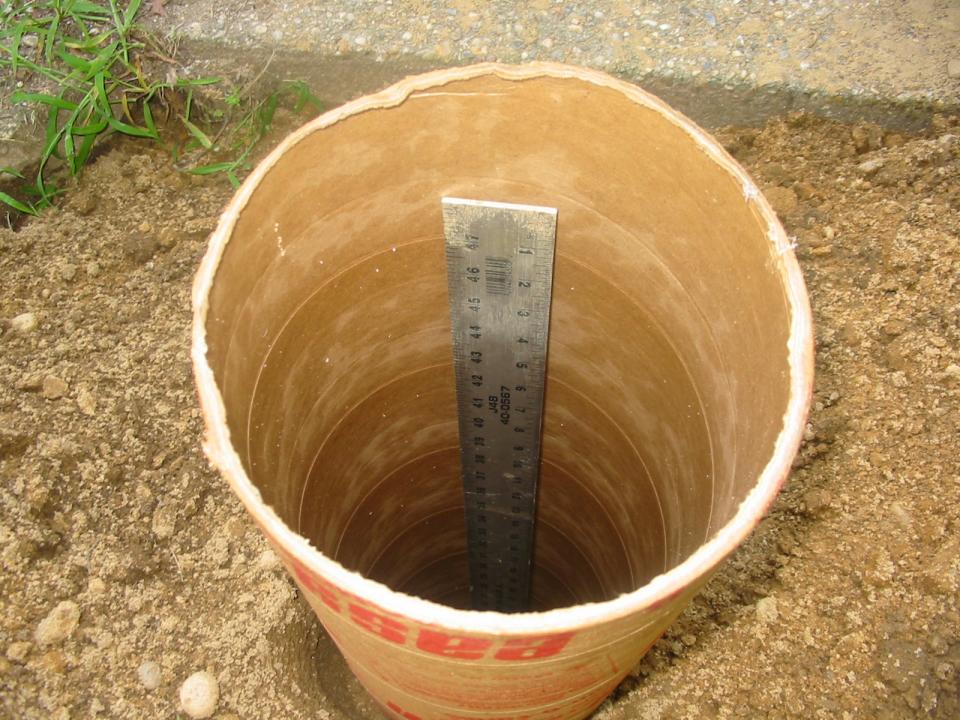
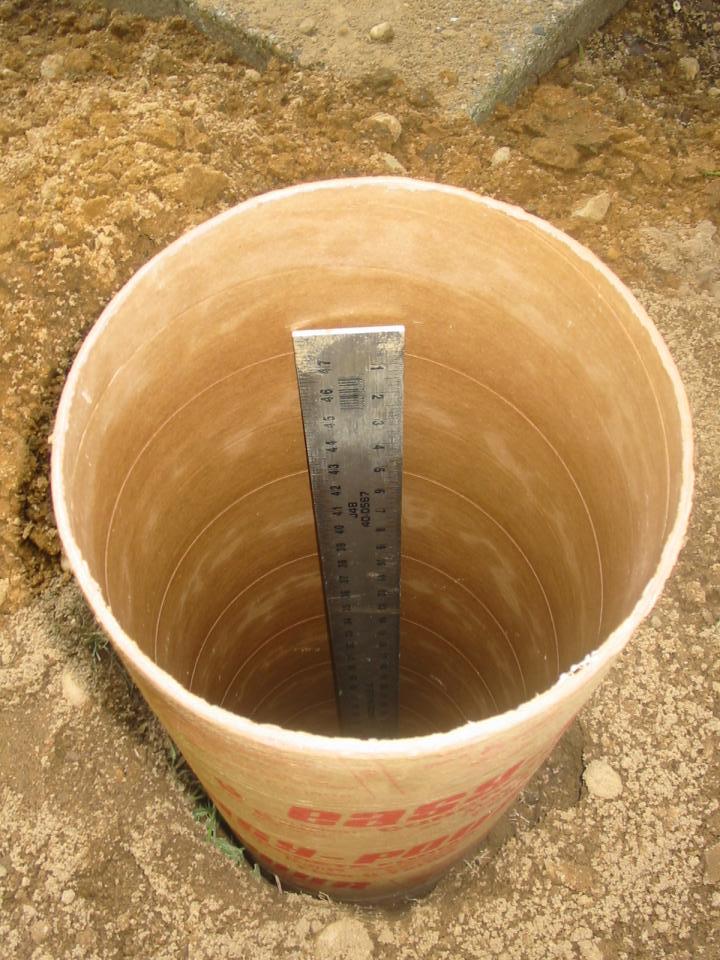
| 36" depths and then some. |
|
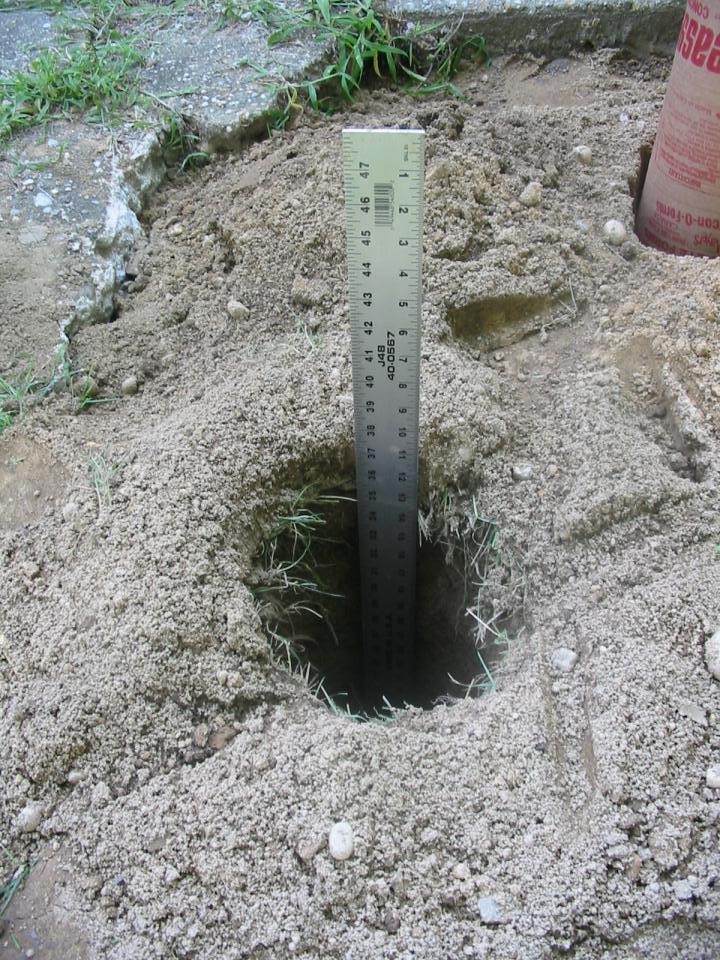
| 36" depths and then some, after forms were inserted but not trimmed yet. There are a few inches at the bottom of each hole that the form doesn't cover, so the concrete pour can flare at the base. |
| After the first day, the ledger board area is prepped, the footing holes are dug, and the footing forms are in place. Tomorrow: mixing concrete and pouring footings, installing the ledger board, and prepping rim and end joists for framing! |