 |
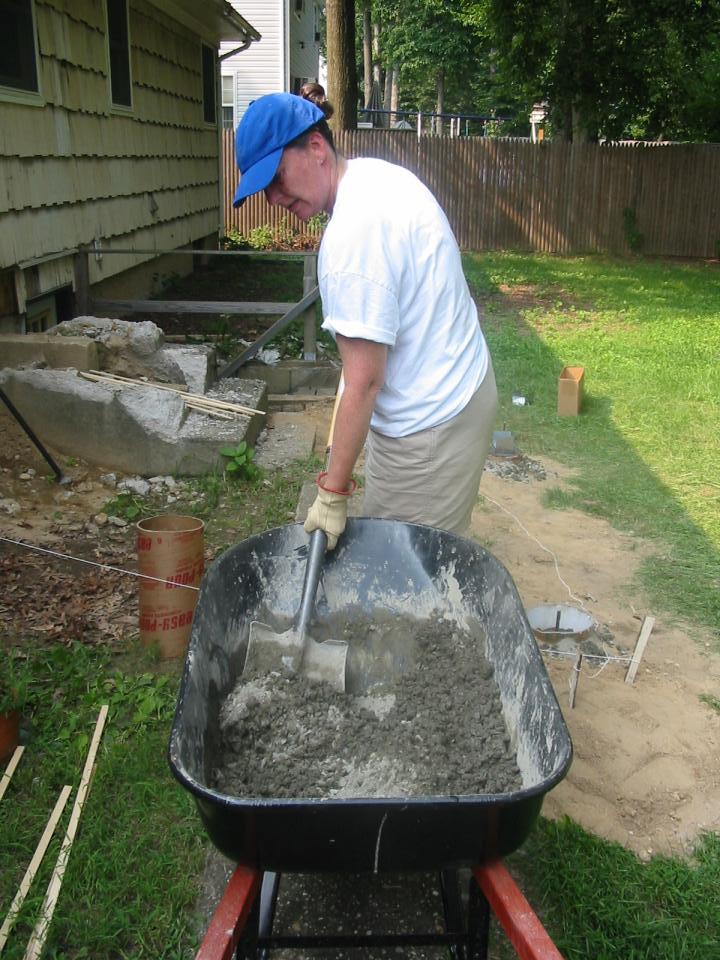
The second day was spent pouring concrete, returning some
excess post hardware to the lumber store, and fastening the
ledger board in place. Manually mixing concrete is hard work,
so Jen came home mid-day to lend a hand and mixed up wheelbarrows
of concrete like a pro.
|

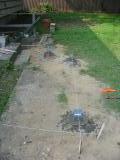 |
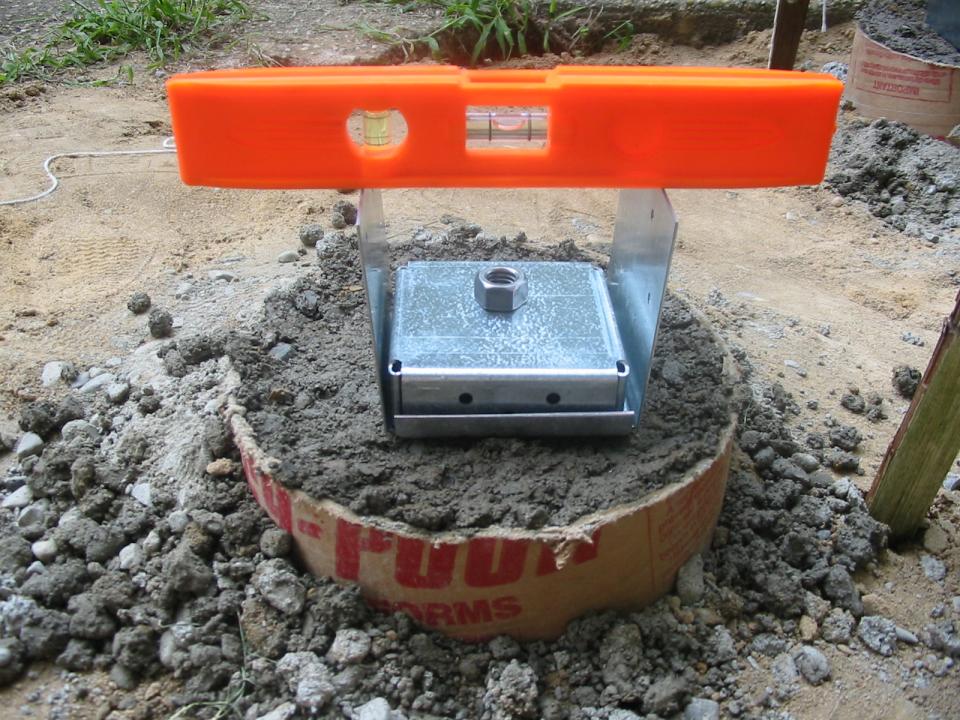
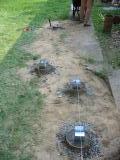
It took several hours to mix and pour/shovel four three-foot
footings. The post hardware attaches to screw buried in the
concrete. Perhaps we should have mixed thinner concrete for
a cleaner surface, but overall things worked reasonably well.
|
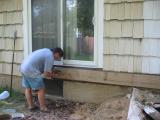 |
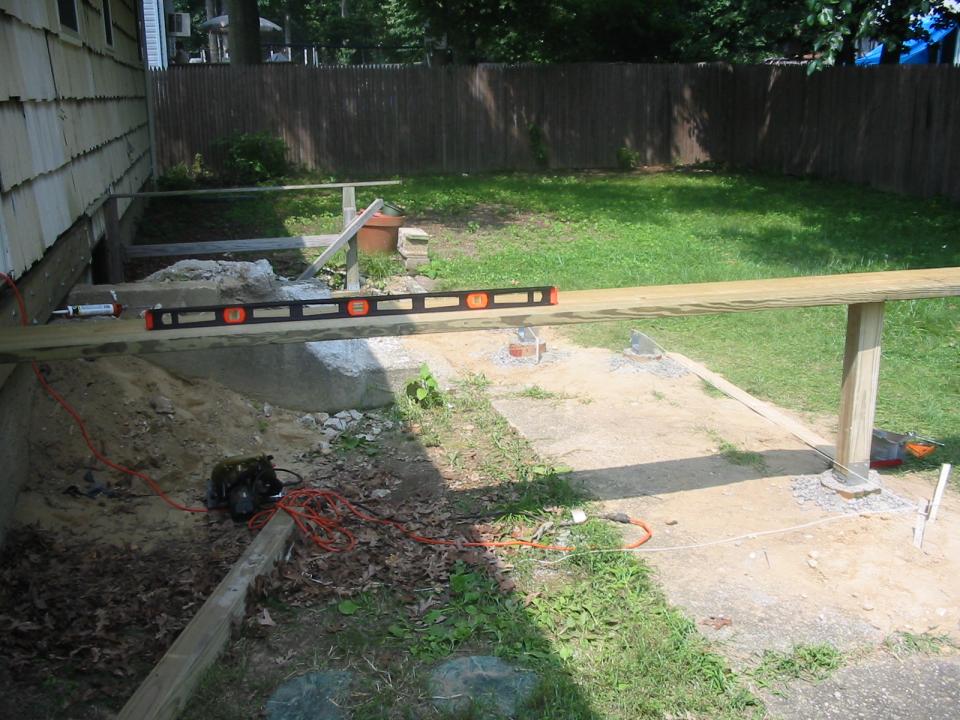
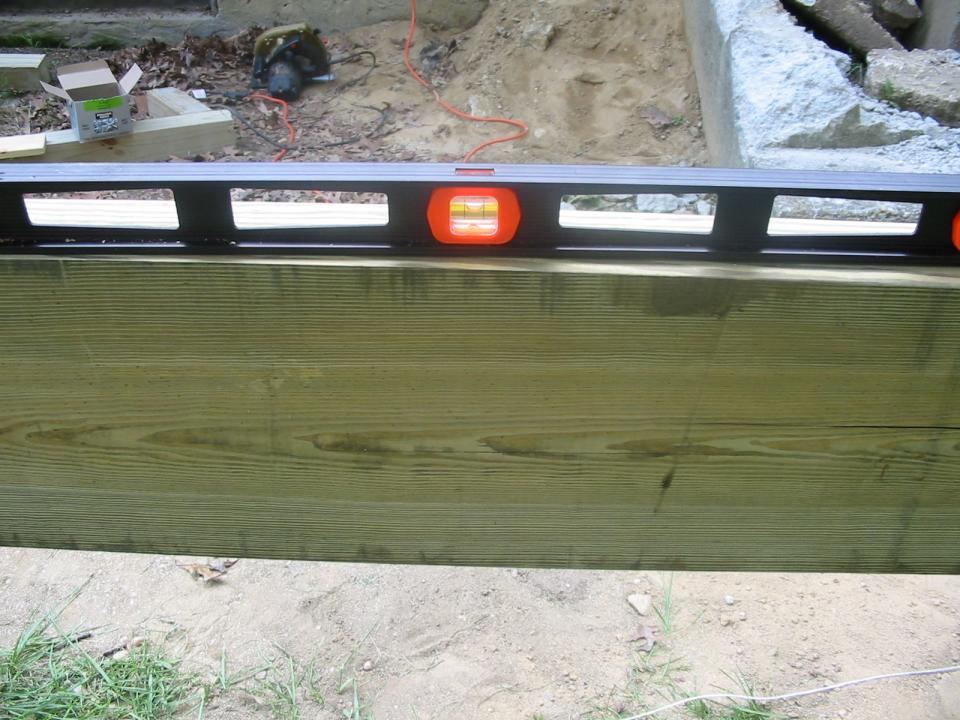
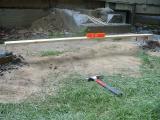
After the concrete pour, we checked the post hardware tops for
level, and started to drill holes for the ledger after leveling
it and tacking it to the first floor skirting.
|

 |
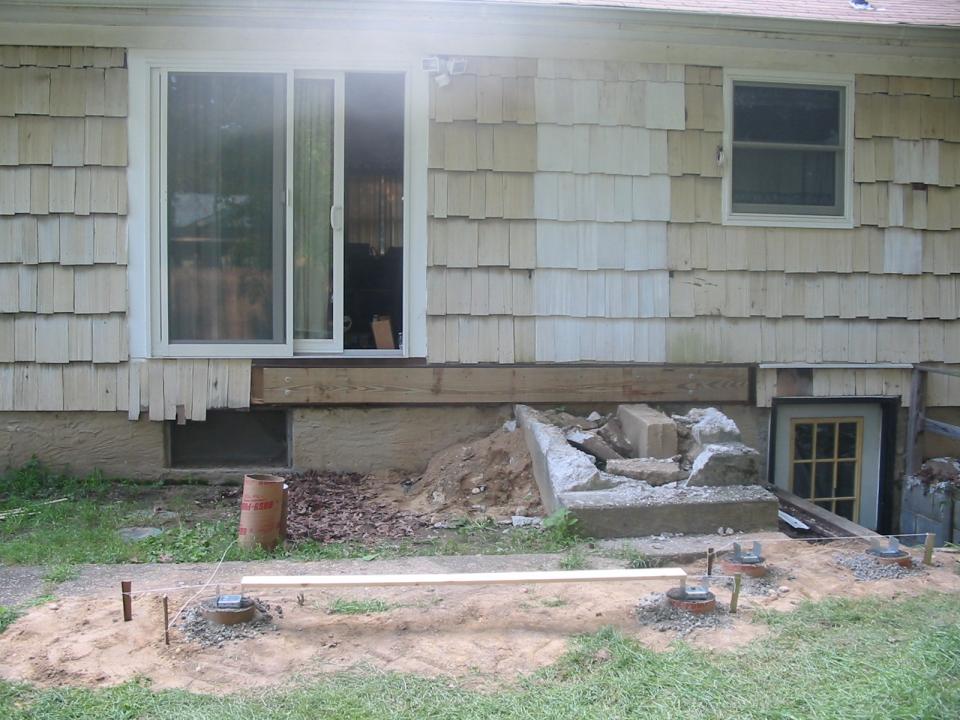
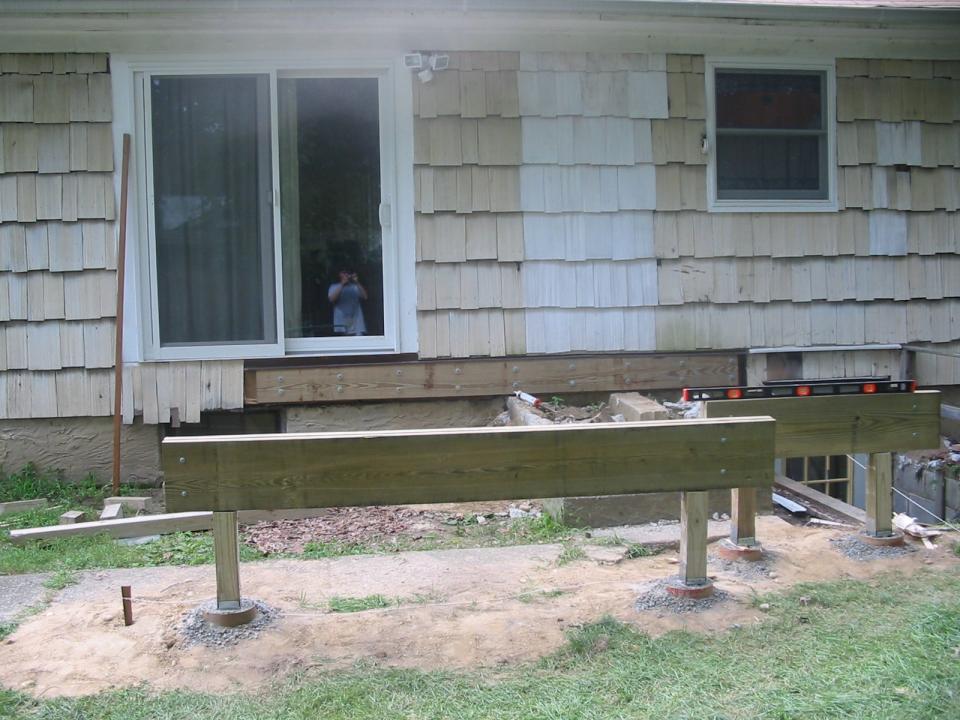
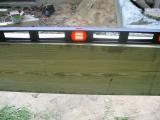
Watch out, the sweaty guy's got a tamper!
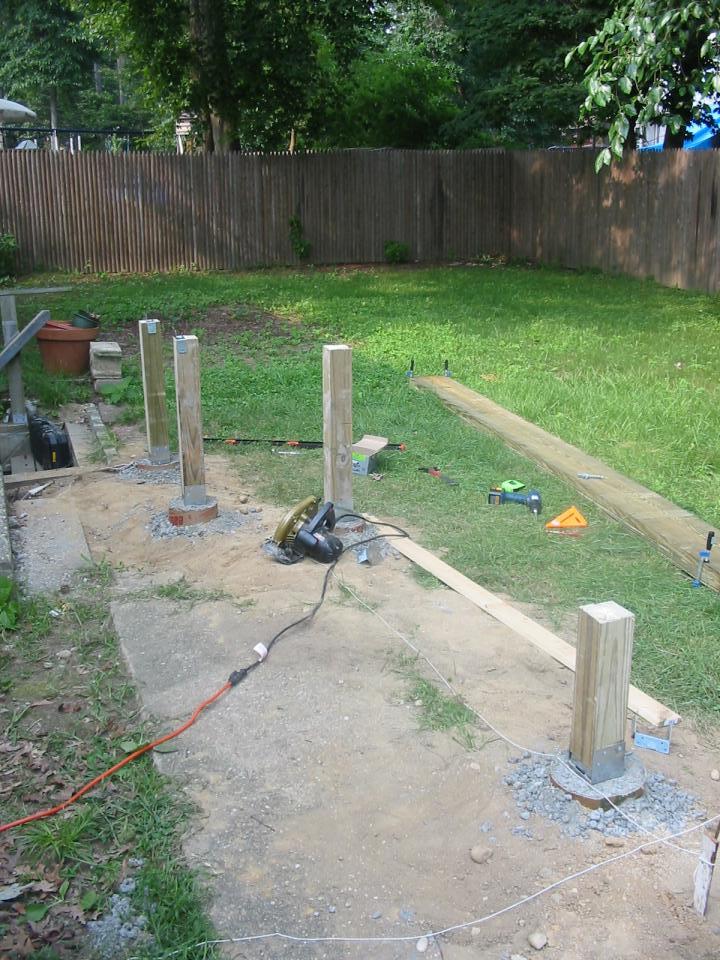
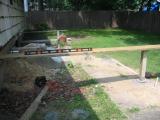
The state after day 2: footings poured (including excess concrete
in the forms on the left), and the ledger board has four of its
lag screws in to keep it in place.
|
|
|
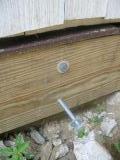 |
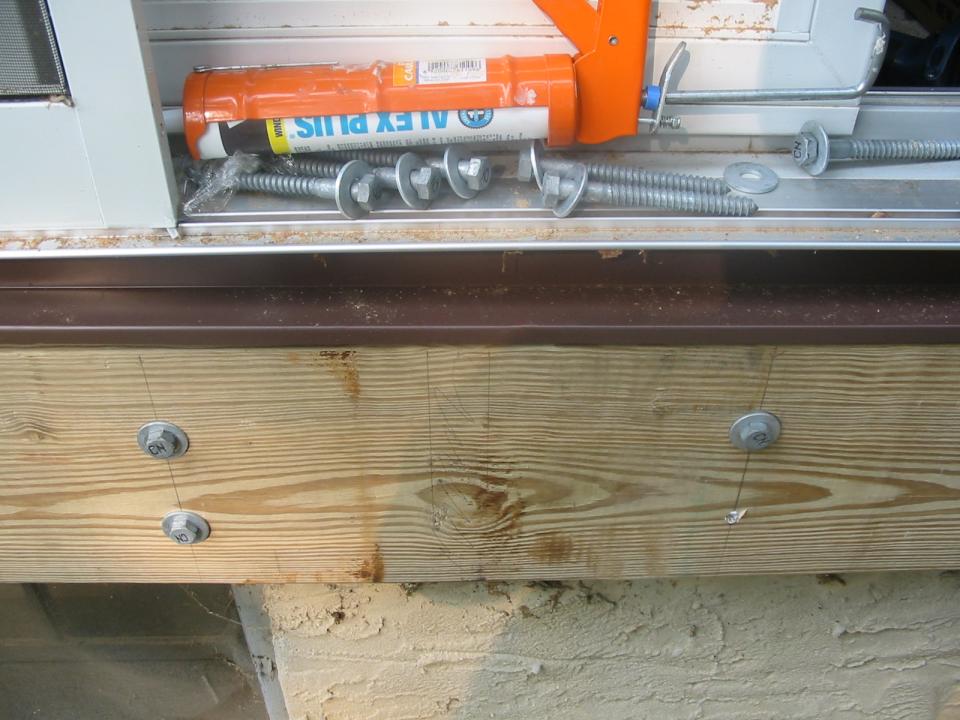
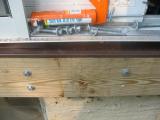
Caulk did wonders to both seal and lubricate 3/8" drilled holes
for the lag screws. 18 lag screws along an 11 foot ledger is surely
overkill, but this places lag screws between every pair of joists.
|
 |
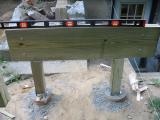
I placed one post and cut to height for level with the top of the
joist, knowing I'd have to recut the posts in place to allow room
for beams. The second shot snows the near post cut down by the
beam width.
First mistake: I only cut the posts down by
the beam width, BUT the joists will rest on top of the beams!
Therefore the posts should really be cut lower by the height
of the joists (about 9.5 inches for a 2x10). I only realized this
after installing the beams. More work for tomorrow.
|

 |
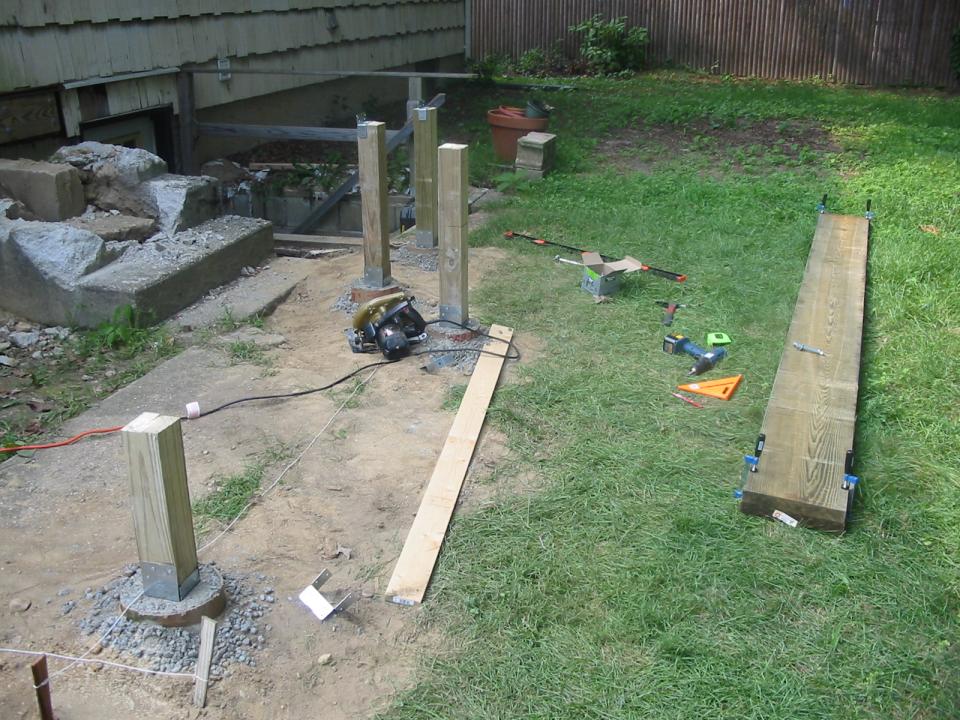
The first beam in assembly, including through lag bolts to hold the
two 2x boards together. Once it was put in place and tacked in, it
was beautifully level.
|
 |
Second mistake: The beams were only supposed
to be 2x10, but I accidentally grabbed the 2x12 boards that were
meant to be used for the stair stringers. Oops! So I'll make stair stringers
out of 2x10s and leave the sides open. The beams are now overengineered,
and will show at the edges beneath the deck unless we drop deep skirting.
|
 |
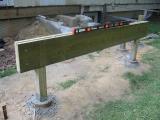
The short and long beams were both installed by the end of the day,
though tomorrow we'll have to pull them off and drop them lower after
cutting off more of the posts. Then we'll be ready to start
assembling and installing rim joists, and the framing will start
taking shape.
The state after day 3: ledger fully attached, posts installed,
plumbed, leveled, and beams installed -- wrong sized beams at the
wrong height, but we'll remedy the height later...
|