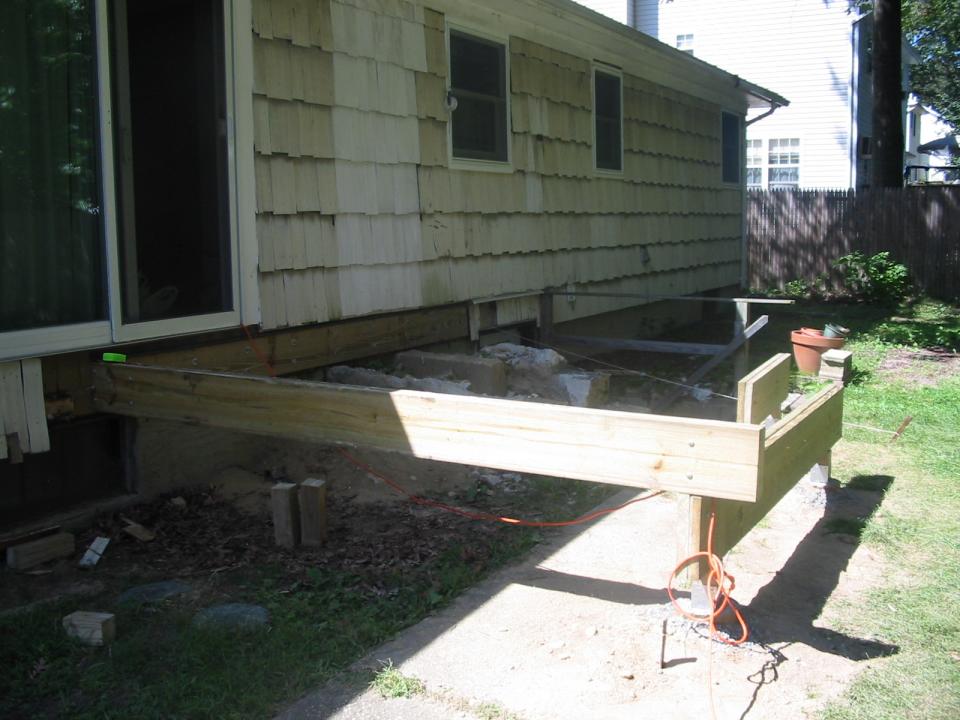


The state after day 4: posts trimmed to level, beams reinstalled, all rim and end joists installed, and most support joists installed.
|
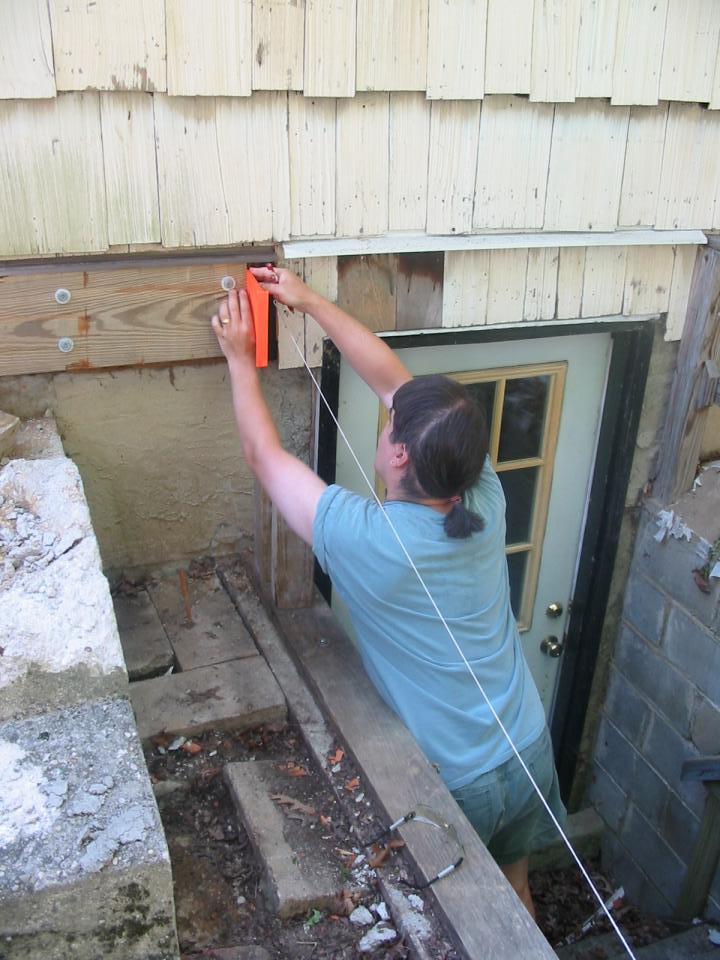
| Into day four, we lowered the beams by removing them and cutting the posts even further. (By now the posts are little more than stumps, only about 6" high.) We then installed the first rim joist, a doubled 2x10 that was butt-jointed to the ledger with galvanized 6" lag screws. Amazingly, it was very close to level, with a slight dip away from the house to move rain water in that direction. |
|
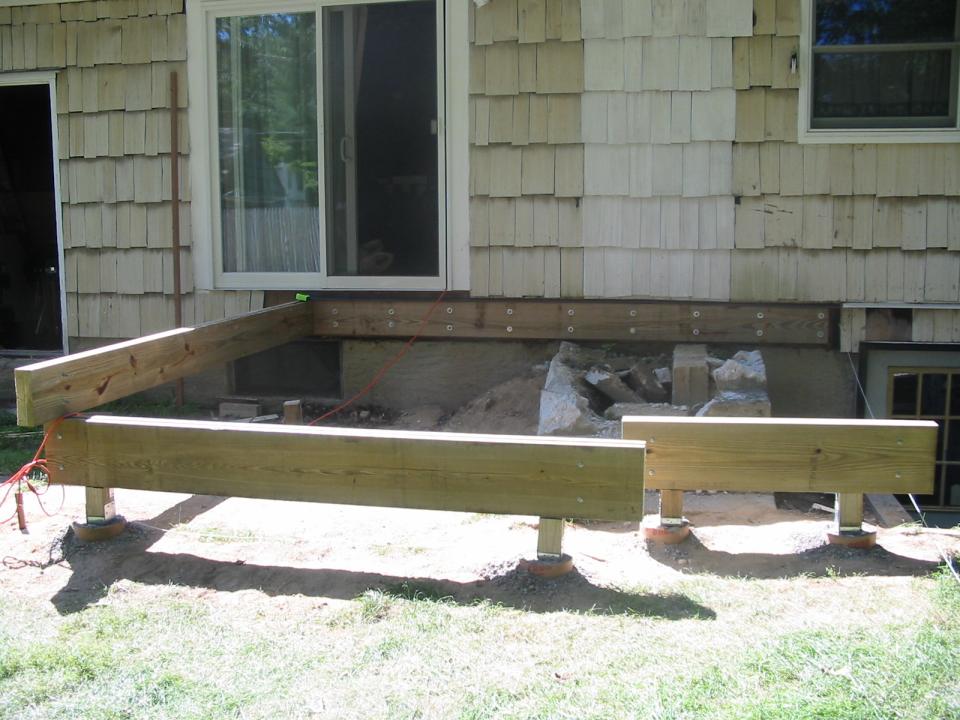
| Then we measured and installed the second and third rim joists, also doubled 2x10s. We checked all rim joists for level and 90 degrees from the house, and double-toenailed them into the beams so they didn't go out of square. |
|
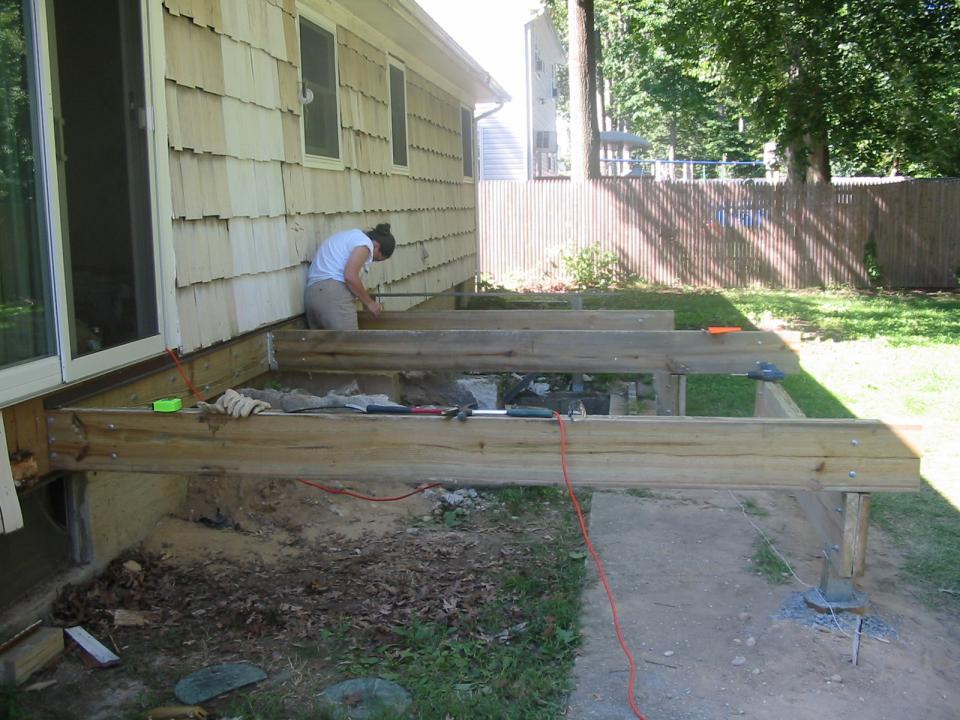
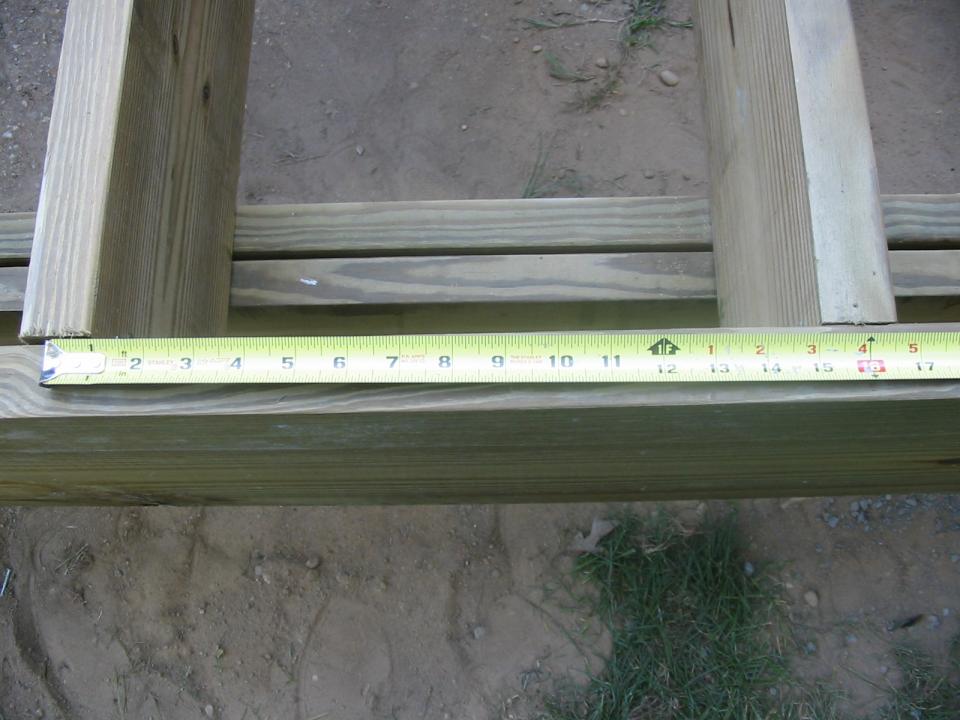
| We cut and screwed in end joists (with the same 6" galvanized lag screws in the ends) and laid out joist hangers and joists over the next few hours. These were set with joist hangers, 16" on centers. Then we ran out of joist hangers and wood. That was okay, because our shoulders were getting mighty sore from hammering all afternoon. |
|
|
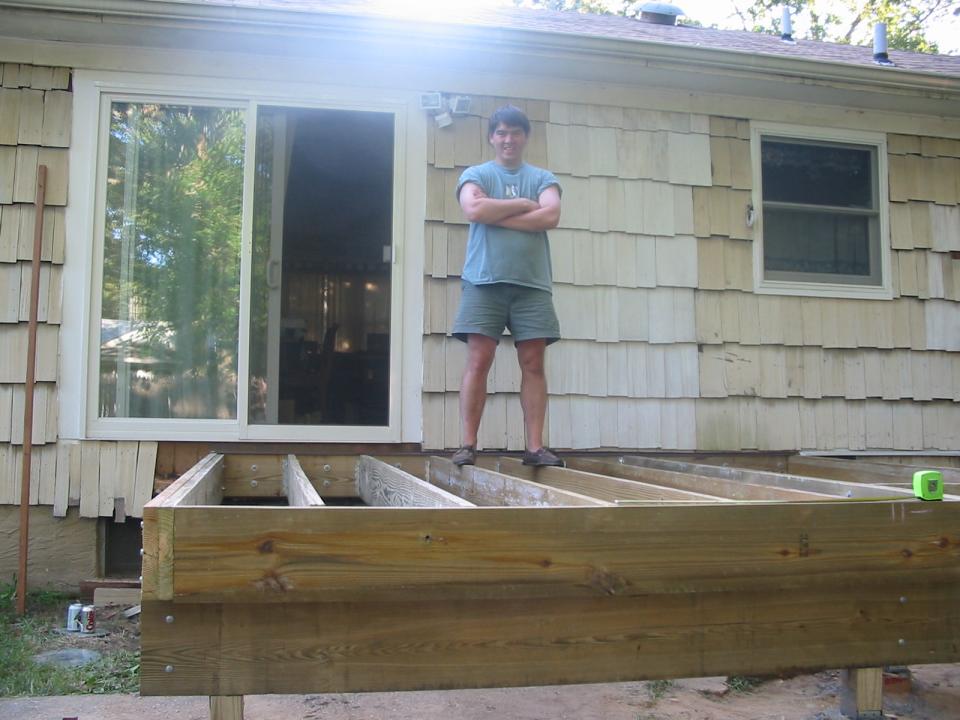
But... is it strong enough? Why yes, it seems to be. At least
it supports Todd's weight easily, even standing on just one or two
joists. Now it's starting to look like a real deck! The state after day 4: posts trimmed to level, beams reinstalled, all rim and end joists installed, and most support joists installed. |