

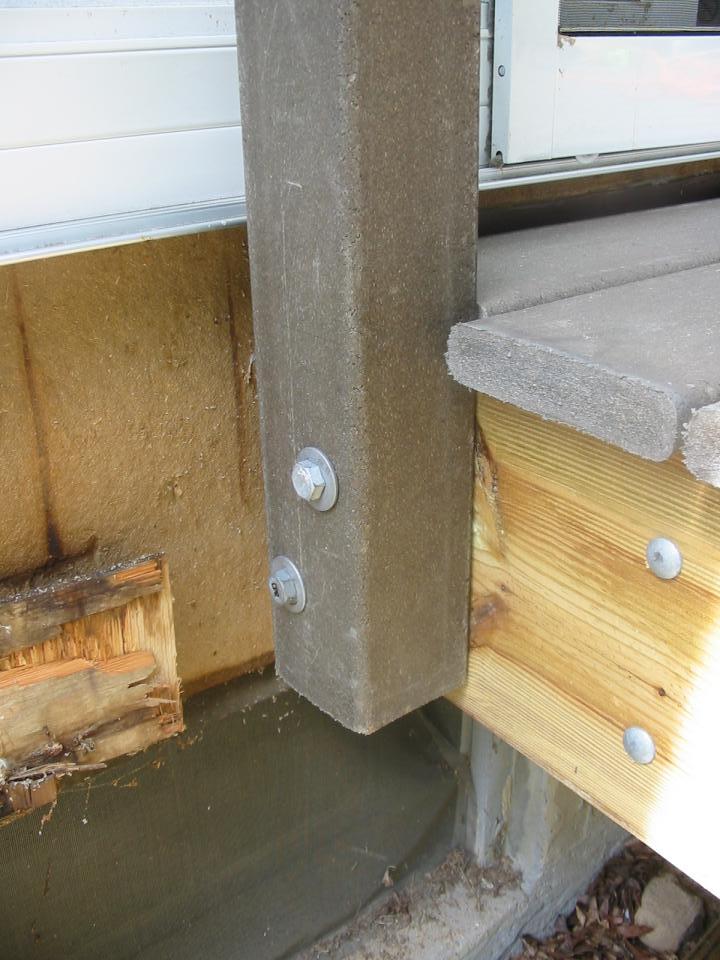
All posts were attached with two 6" lag screws into the rim joists.


|
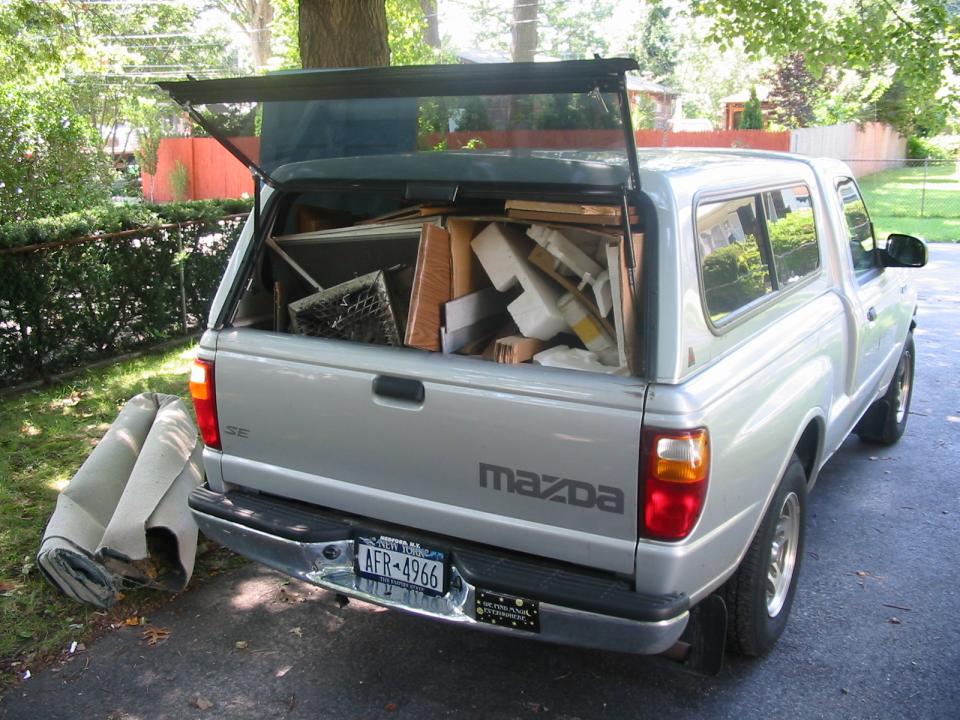
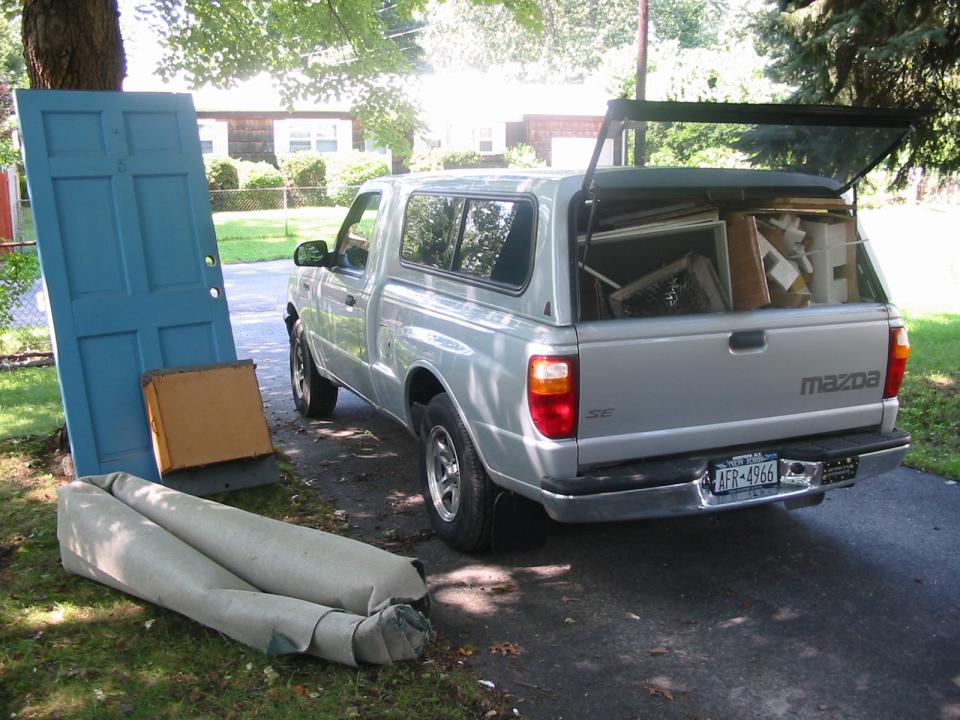
| On Friday and into Saturday, Todd had emptied out a fair piece of the garage in a valiant effort to create space for the new Weber Gold B grill that was due to arrive. He didn't quite fit everything into Gandalf for a Free Saturday dump run, but close to it! (Recognize the carpet and the old front door?) |
|
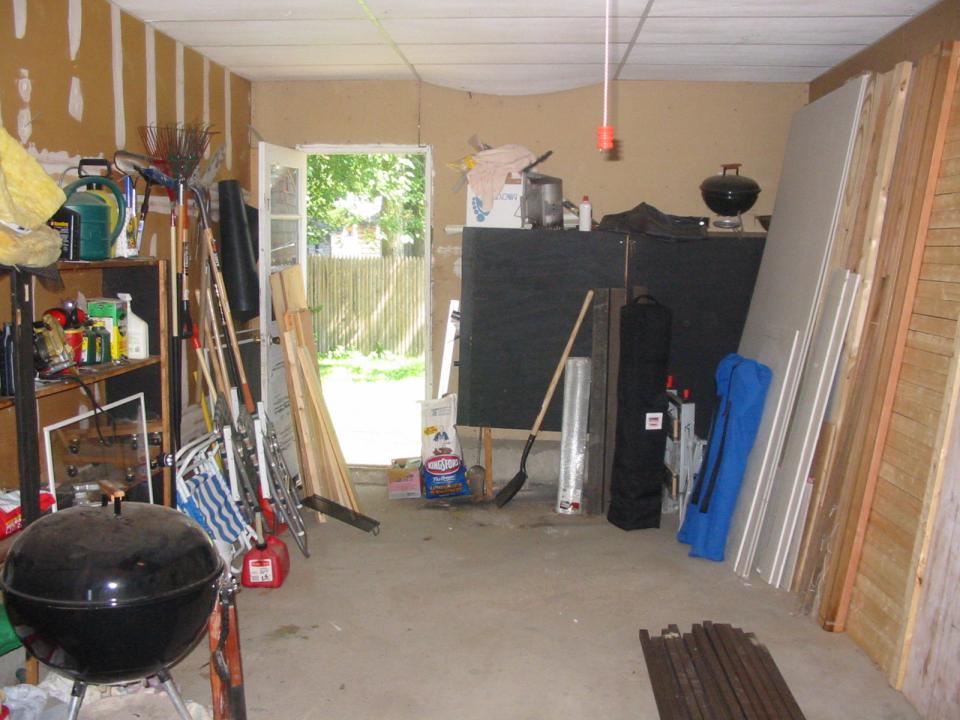
| The garage has been reclaimed, and is substantially roomier now that almost all the decking is out of it. After we moved the grill box and scooted a few things around, Jen had room to park in the garage again, after several weeks of parking in the driveway! |
|
|
For post installations, we had to notch a few areas of the decking. This
later turned out to be mistake #3, as we eventually
trimmed off all the excess overhang decking for balusters anyway. The lesson?
Plan the details of the railing design (how things attach together)
in the planning of the deck. We ended up being happy with what we put
together later, but it took a lot of extra time to recut various pieces. All posts were attached with two 6" lag screws into the rim joists. |
|
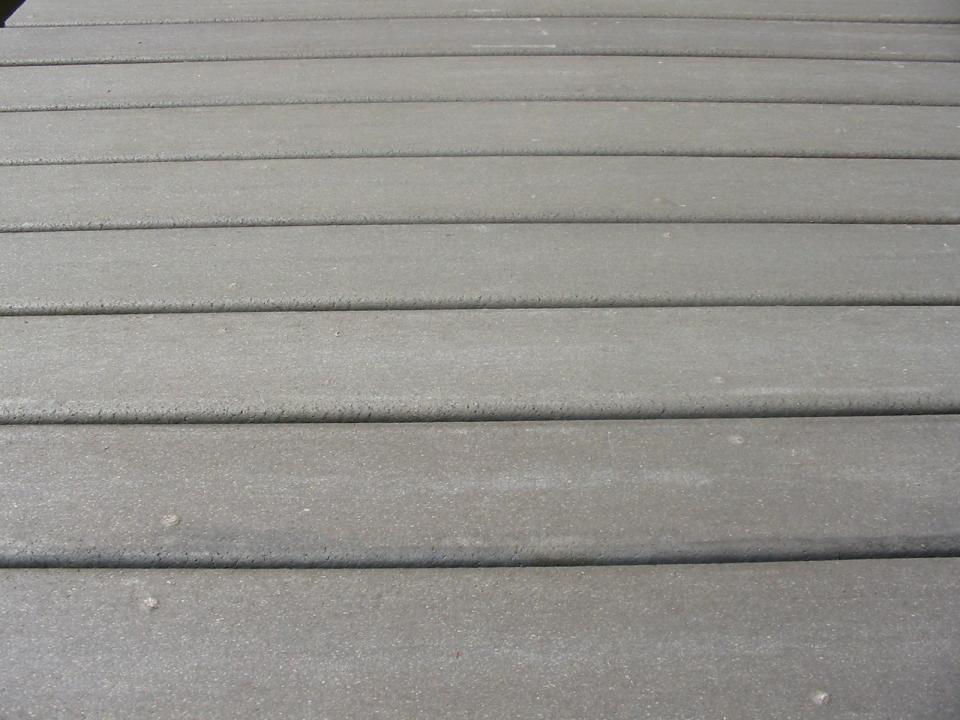
| When attaching the decking, countersinking screws in the Trex composite gives you a little plastic "mushroom" effect. This can be pushed in place with your fingers then pounded flat with a hammer. The patterning of my alternating decking attachment can be seein in the second picture, and these little blivets will become less visible as the deck ages. |
|
| A quiet interlude to reflect over our accomplishments. Jen had pulled out well over a hundred landscaping bricks from the brick "patio" in the back yard, and we'll use some of those for landscaping under the stairs and beneath the deck. Todd is just wondering where that last part for the jigsaw goes. |
|
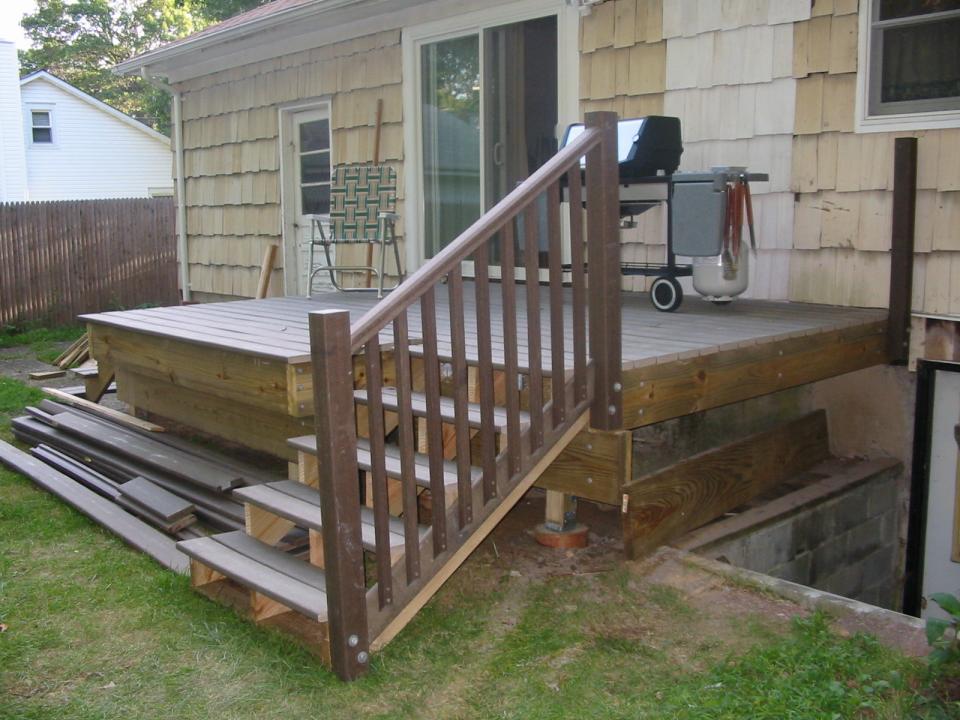
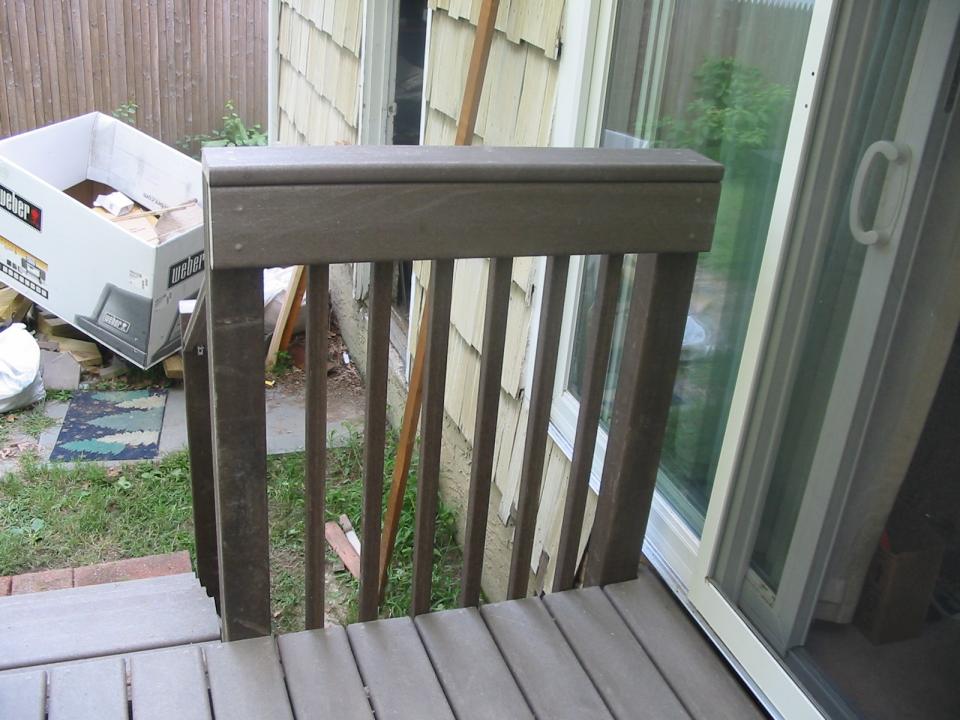
| Saturday's outside efforts had us building the railing for the stairs. This took us a while because of mistake #3, since we had to think about it. Jen finally had the grand idea of putting an extra baseboard against the stair stringer, and attaching balusters to that. These balusters drop from the center of the Trex molded railing between the posts, and fortunately all the dimensions worked out. All the balusters were cut with 30 degree angles on the top (to attach to the railing) and 45 degree angles on the bottom (to look pretty). |
|
| Okay, yup, that looks good. |
|
| On Saturday we also built the barbecue! Weber barbecues are amazingly quick to build; they give you all the tools you need and there are a grand total of eight (8) screws to put in. The entire top assembly comes as one integrated unit, and the hardest part was finding a local propane supplier late on a Saturday afternoon so we could grill hangeburgers on Saturday night. |
|
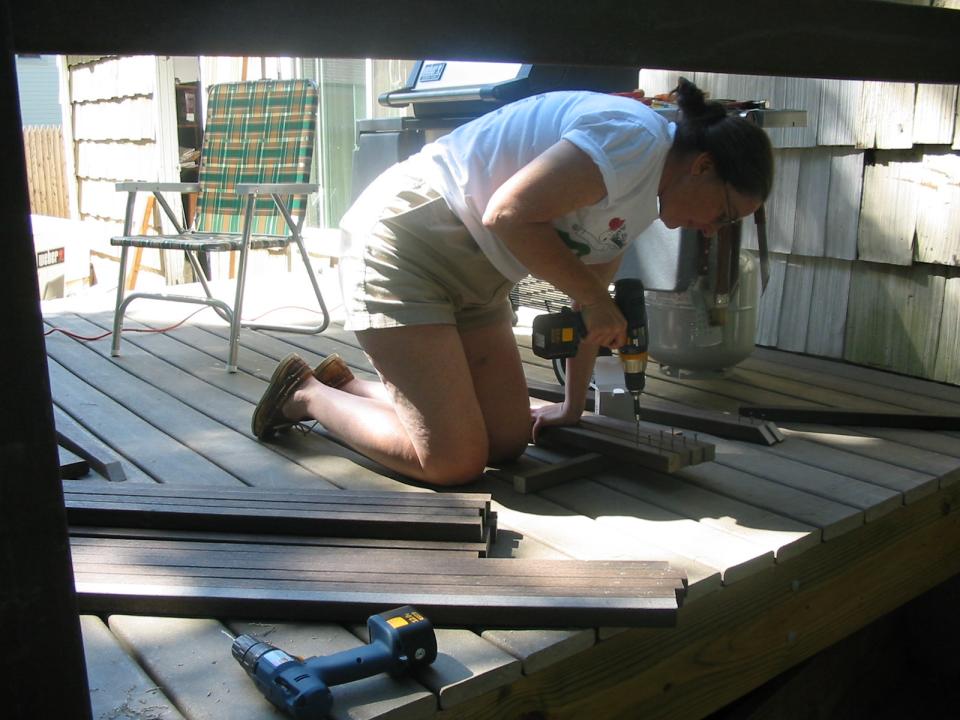
| Balusters! We figured that we needed 20 balusters for the side railing over the stairs to the basement, so we mass-produced these. Each had four screw holes that needed to be pre-drilled, and these were all cut from the raw baluster stock that you can see above in the garage pictures. After pre-drilling holes, Jen pre-screwed screws into them. |
|
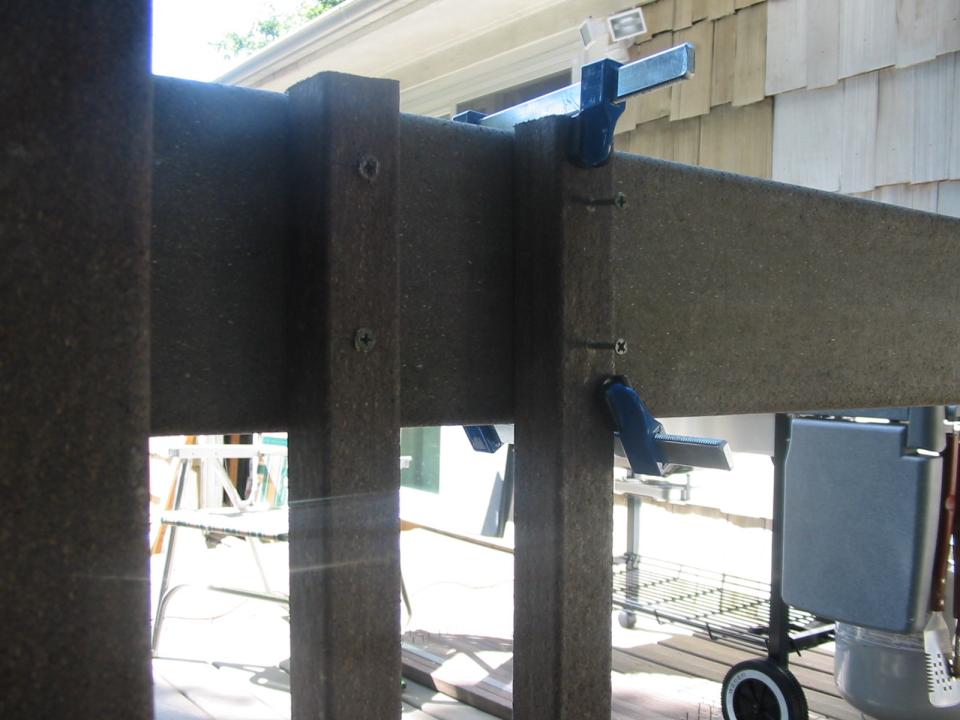
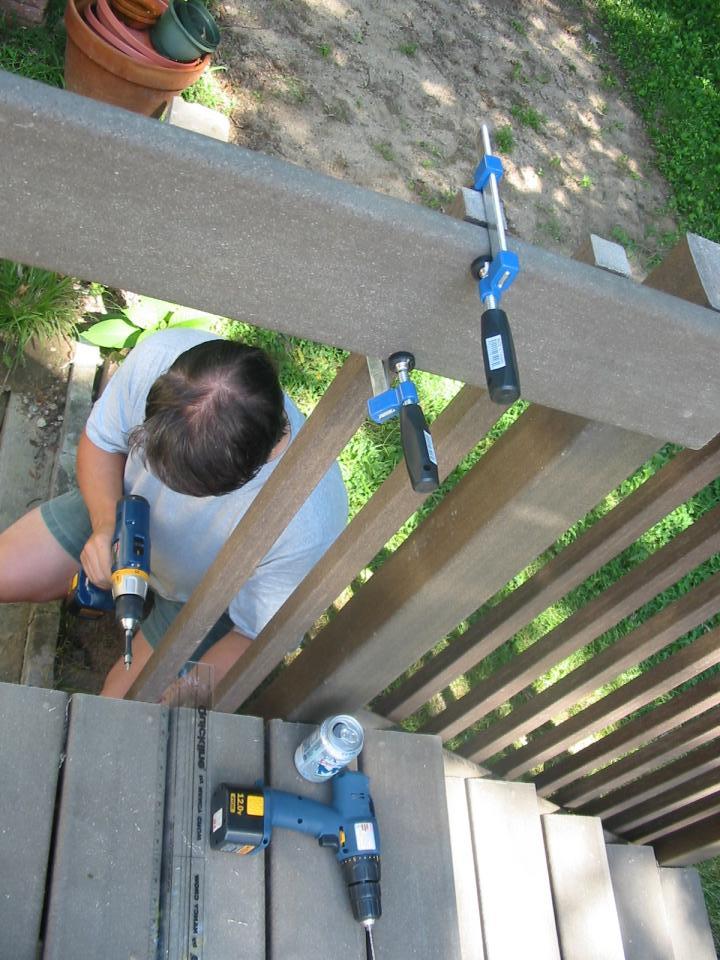
| To attach the balusters, we marked out all the spacing beforehand, then clamped each baluster at the top rail. This allowed us to screw in the bottom screws, then the top screws without pressuring the baluster away from the rail or joist. Once we got the hang of this technique things proceeded very quickly! |
| After further post installation, we cut angles for more railings on the other side steps (which were moved closer to the house), and installed the house-side railing with six more balusters. |
|
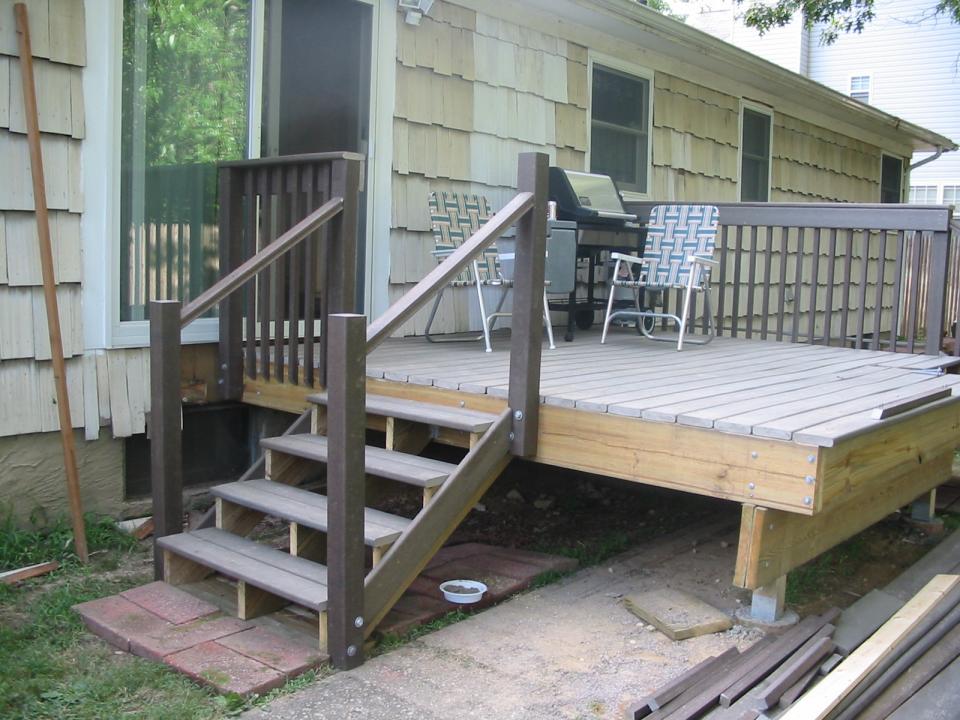
| The overall efforts of the weekend paid off -- good stairs, all stair railings, and many balusters were installed. We're still not sure exactly how we'll do the railings and balusters at the front of the deck, but that's a job for another day. At least it's starting to look like a real deck! |