 |
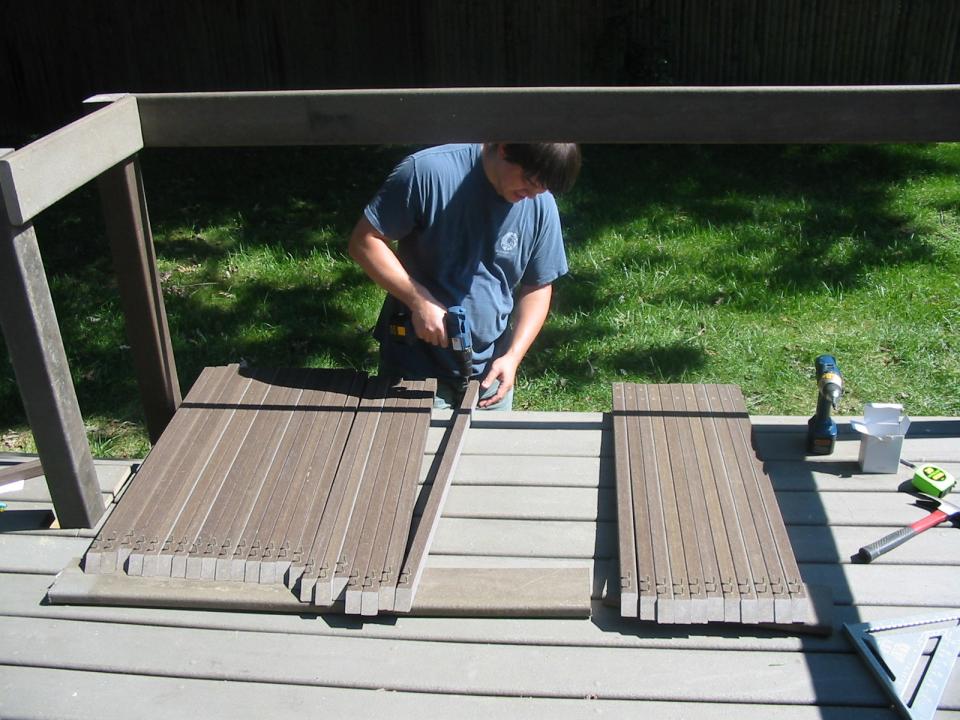
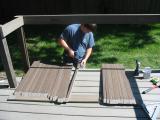
After installing final posts, we rough-measured baluster spacing and
cut length and ends on 33 balusters for the remaining railing. Each
baluster required four pre-drilled holes (two top, two bottom), and
we then pre-inserted decking screws in all holes (see
previous page).
|
 |
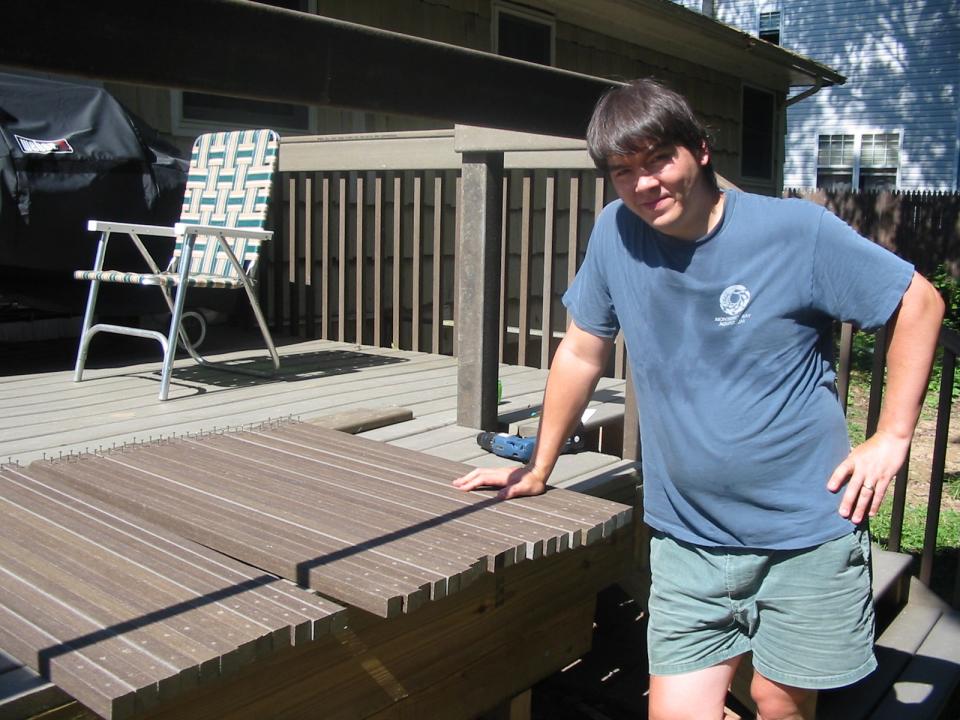
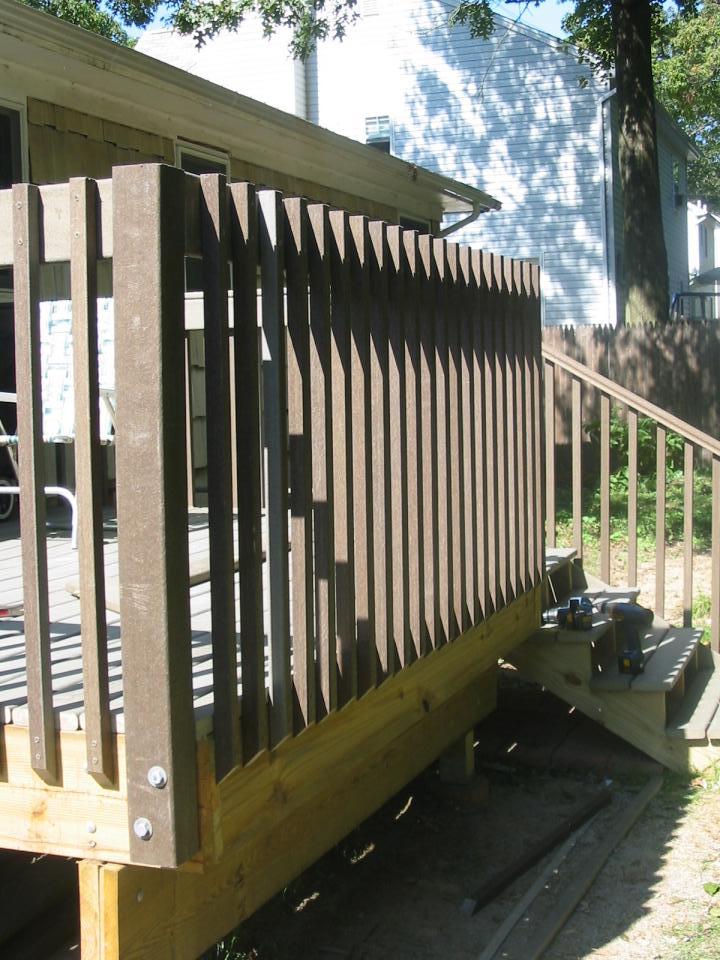
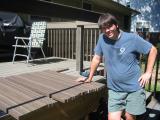
With the measure-clamp-screw technique, the remaining balusters
went up pretty quickly. We installed the center baluster of the long
span (21 balusters) first so it could support the center of the long
railing board. Note that this railing board was installed end-butted
up to the posts so its face was even with the rim joist.
|

 |
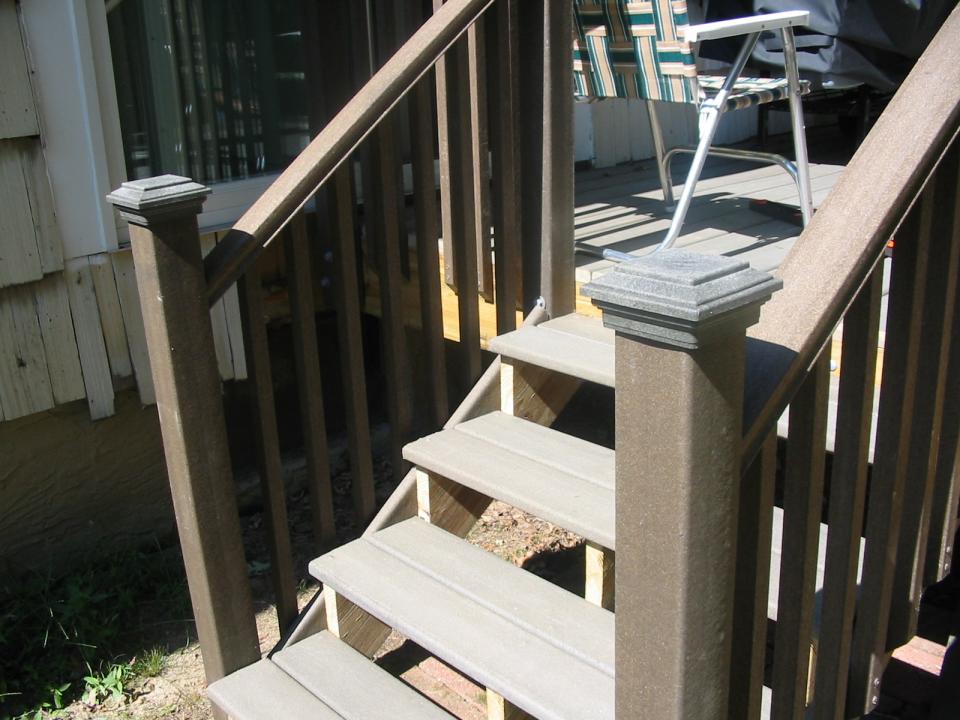
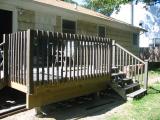
We then mitered, fit, and cut top boards to length before installing
them, and pulled the miters closed with corner screws. After this the
deck is ready for stress testing and -- even more intimidating -- the
town inspector! The final touch was post caps on all the stair
posts; these are also made from Trex and should weather along with the
rest of the deck.
|

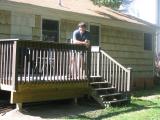 |
Note that Todd decided not to sit on the railing to
"demonstrate" just how strong it is. But... Nice deck!
|