


Time for Todd to flex and go "Unk". How, uh... impressive.


| After a quick run to the dump on Saturday morning, we knocked together some stairs out of 3/4" plywood so we wouldn't drop 3 feet every time we tried to use the sliding glass door. That first drop is a doozie! |
|
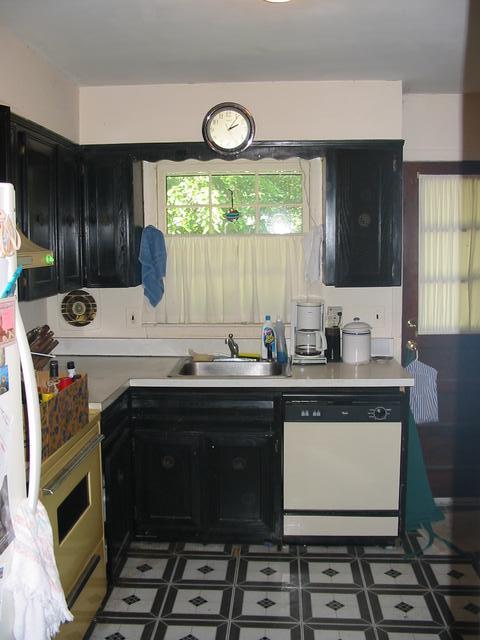
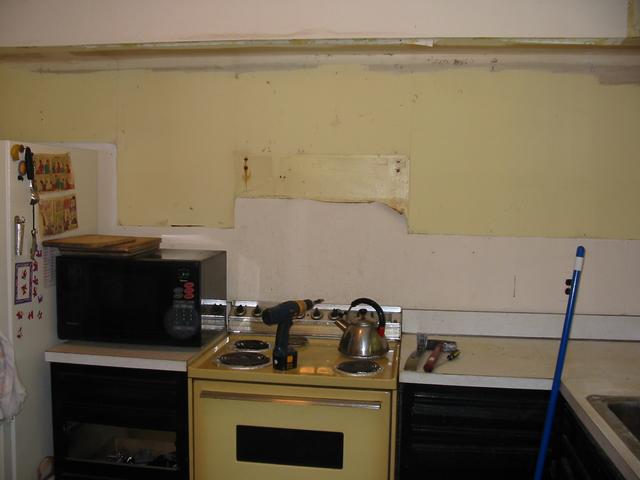
| One last long loving (*cough cough*) look at those oh-so-fashionable black plywood cabinets, the wasted-space soffit, and the back door. By the time the weekend is history, they will be too. |
|
| First cabinet removal tells us something that we'd suspected. The cabinets are not screwed to the joists, but nailed, and with only four nails per cabinet. Demolition isn't too bad, just whack'n'tug. There are also several layers of paint over old wallpaper, which all peels away to reveal more lovely colors. |
|
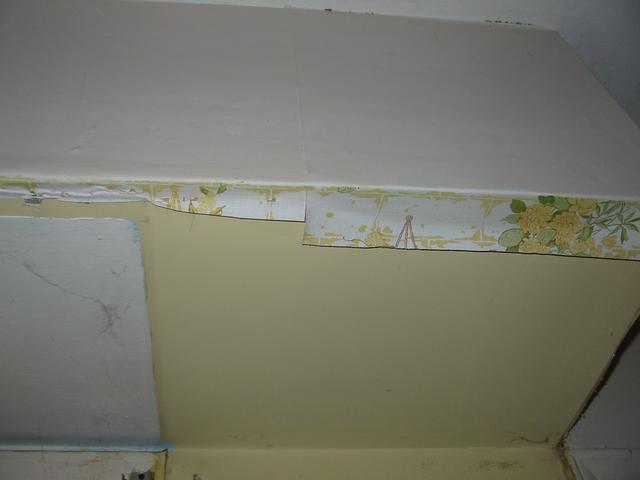
| That was certainly an interesting layer of wallpaper -- perhaps it's not so difficult to see why they painted over it after all. The soffet corner also showed clear evidence of water damage in the drywall, which solved the mystery of why that corner of the countertop would get wet during very heavy rains. |
|
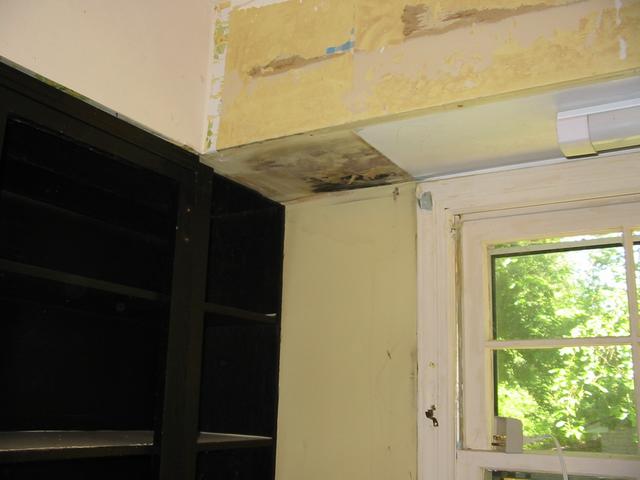
| Ripping out one side of the old soffit, exposing all sorts of lovely wiring and support structure that will have to be rerouted and patched before new cabinets are installed. Yes, there are two entirely different electrical circuits in that wall. |
|
|
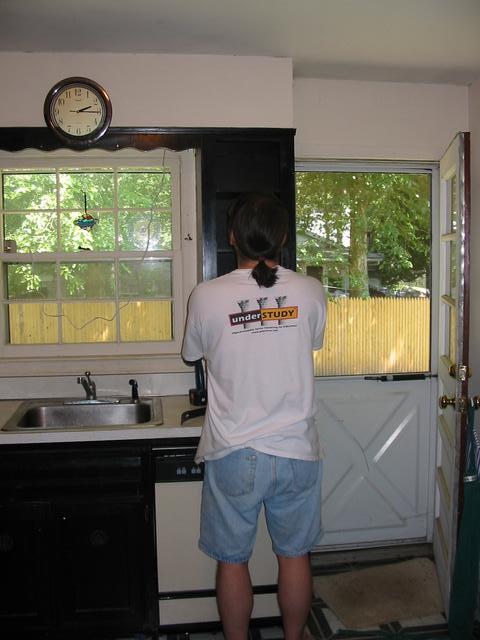
A few hours later, all top cabinets are gone. Without all that black,
the room feels a lot brighter and more airy! Note how well the
harvest gold appliances matched the original wall paint. Time for Todd to flex and go "Unk". How, uh... impressive. |
|
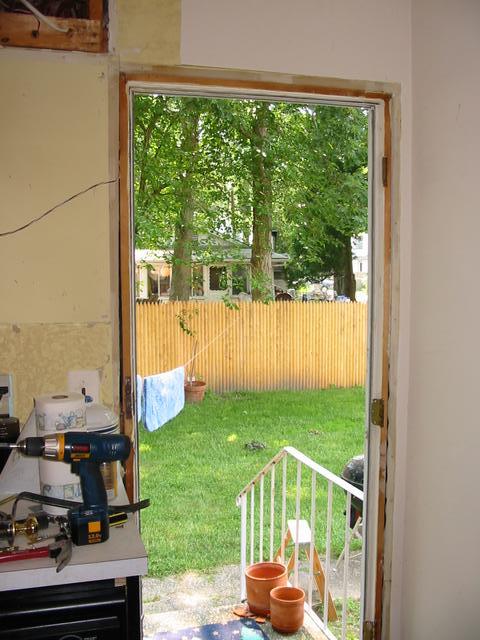
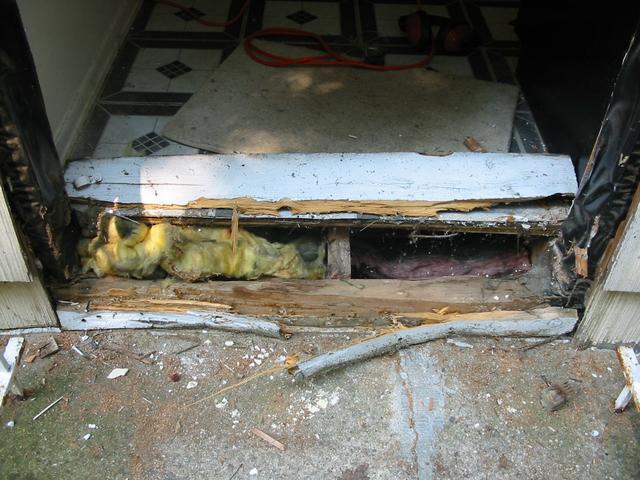
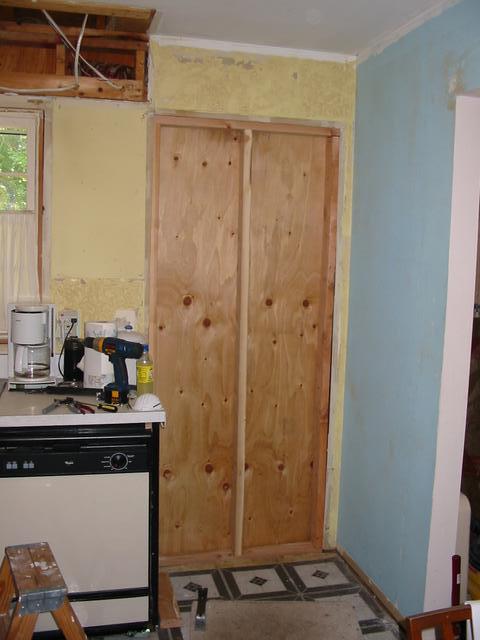
| The next day, the first item was to remove the kitchen door and open up the space so we could remove the frame. The second photo shows the magnitude of water damage that's accrued over the years at the base of the back door. Time to add extra base patching before installing the patch frame. |
|
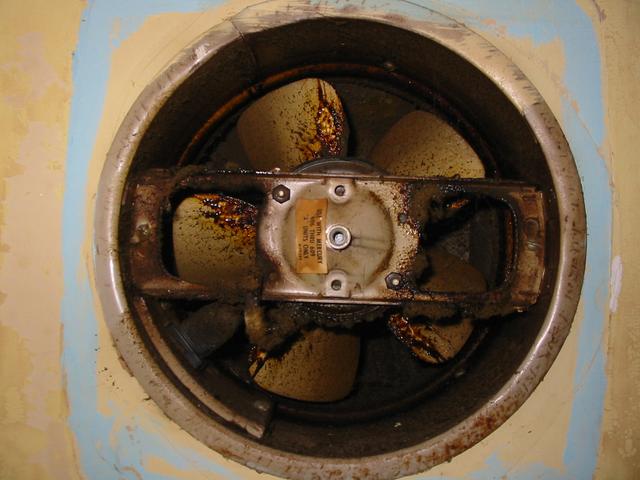
| Jen, in the meantime, attacked the so-called "exhaust fan" for the kitchen, a fan that was (a) badly positioned and (b) so full of gunk that it never worked anyway. We're considering a roof duct for real kitchen exhaust -- only "considering" at this point because it will require attic work during the stifling heat of summer. One only wonders what got put through that fan... |
|
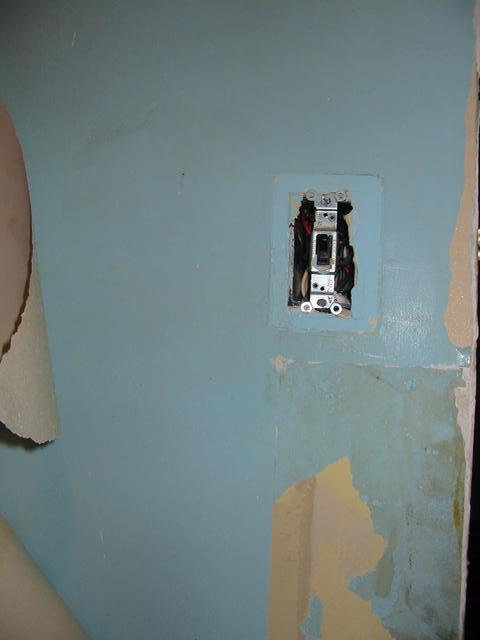
| So after stripping away all the paint-covered wallpaper, we have walls that are a lovely shade of robin's-egg blue and lemon chiffon yellow. Talk about incentive to finish and paint the walls in a hurry! As bad as this color was, the color beneath the switchplate shows what it was like originally. One word comes to mind: Eeeeeewww. |
|
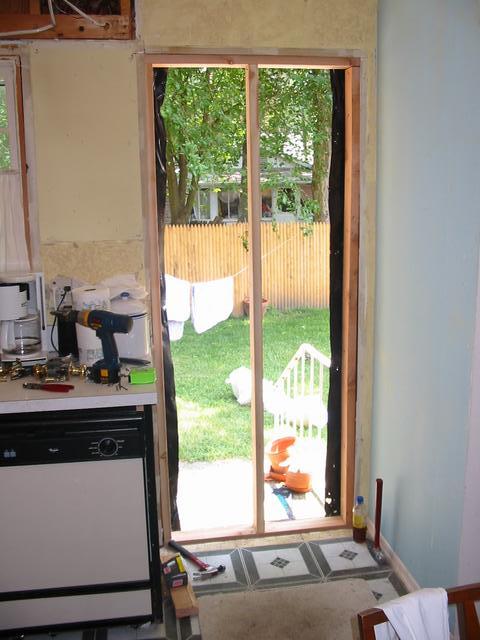
| "On no, the door's been framed!" Even better, an hour later we had the exterior sheathing installed and could let the cats out of kitty prison. |
|
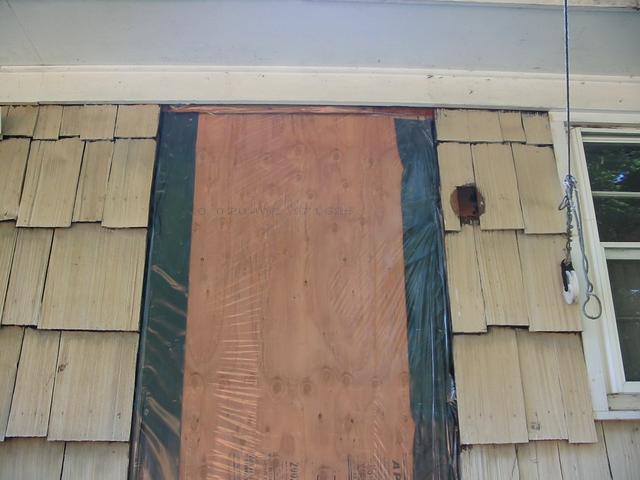
| Not just sheathing, but vapor barrier! Still looks like a cheap plastic bag to me... |
| This is how the exterior lighting was wired, and all the romex was just nailed to the header board beneath the eave. Thankfully we got rid of this too! |
|
| Time to take some credit and finish up for the weekend. That was Jen's expression when she realized that the next night we had to go shopping for a new oven and dishwasher! |